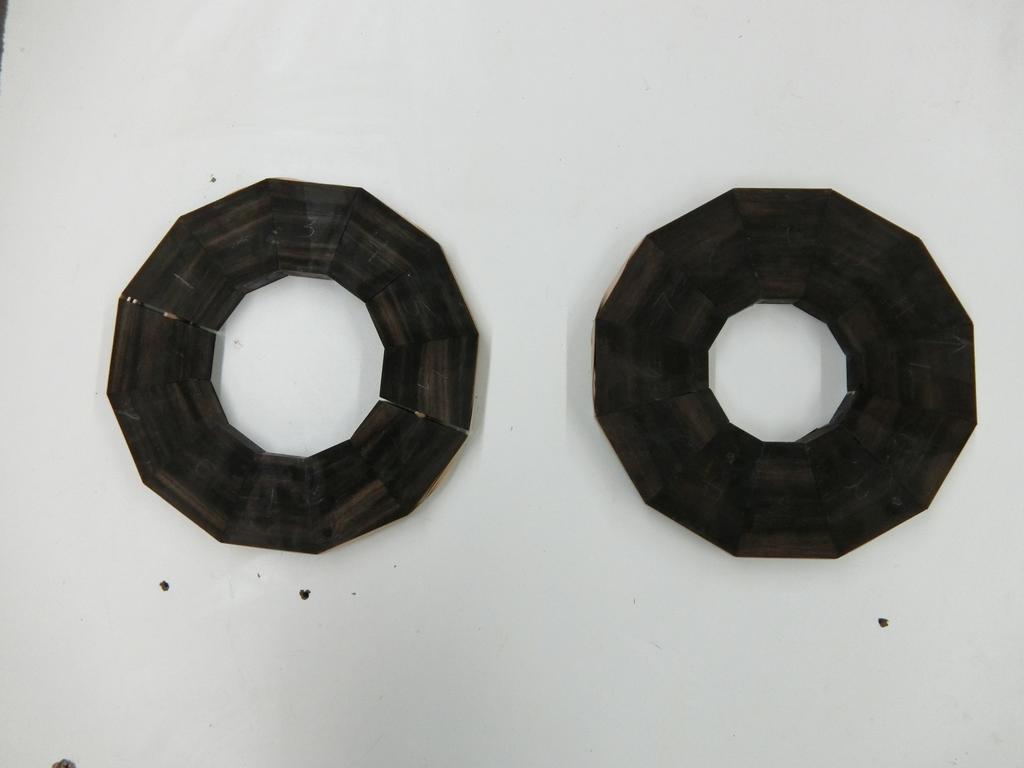
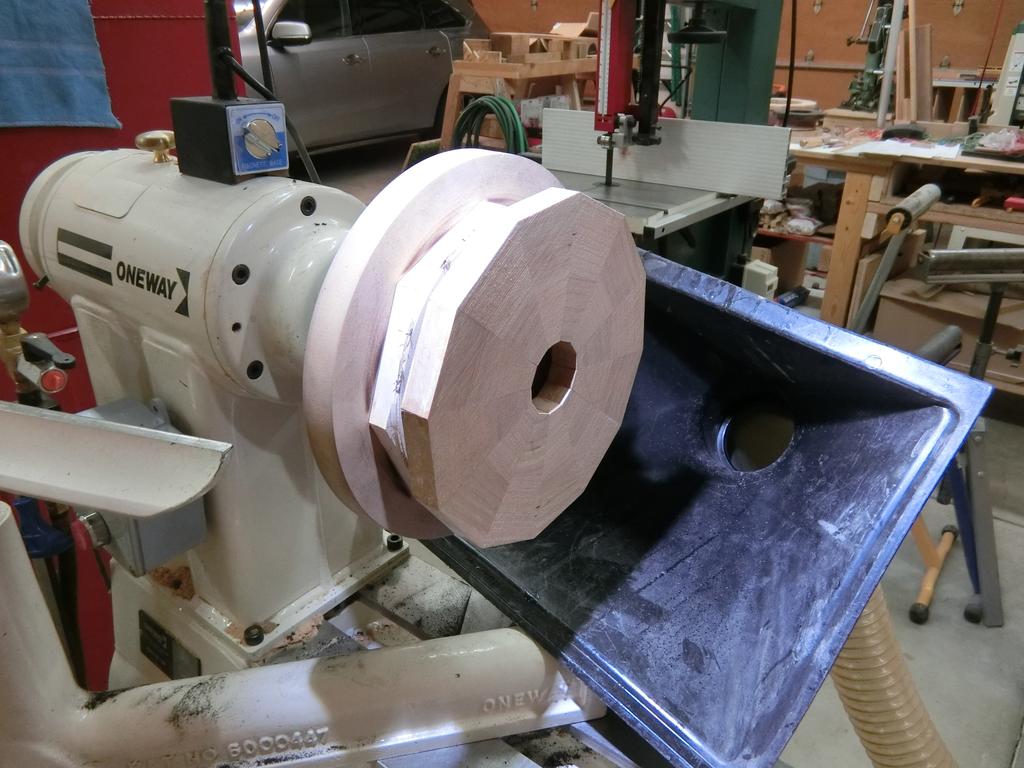
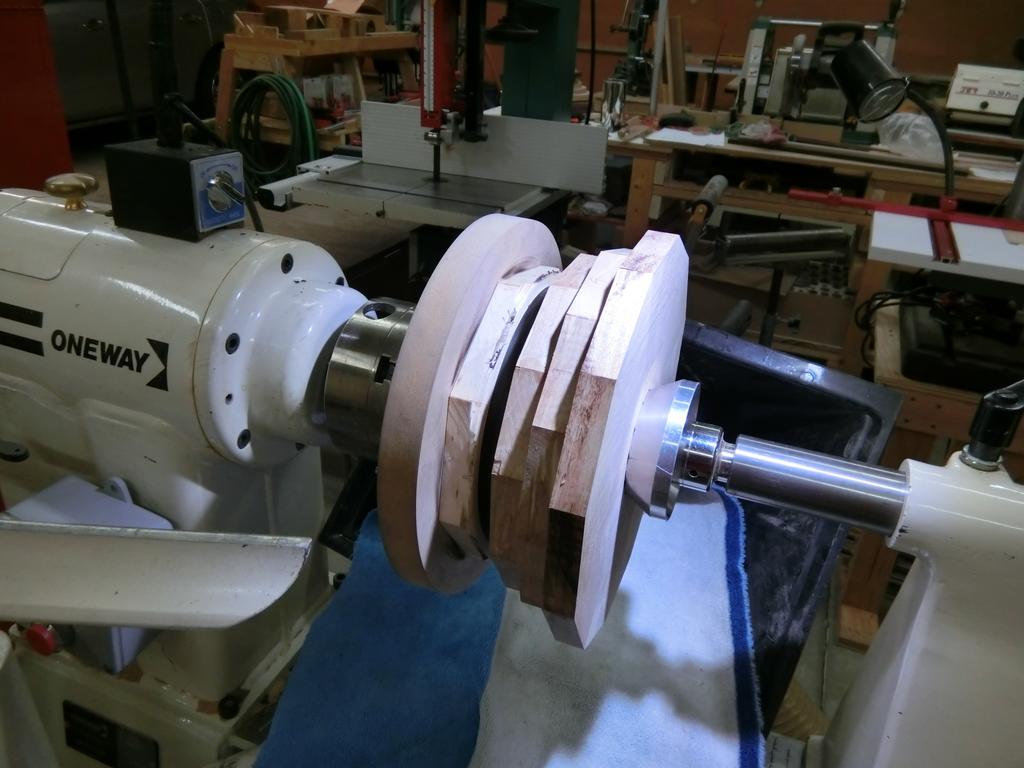
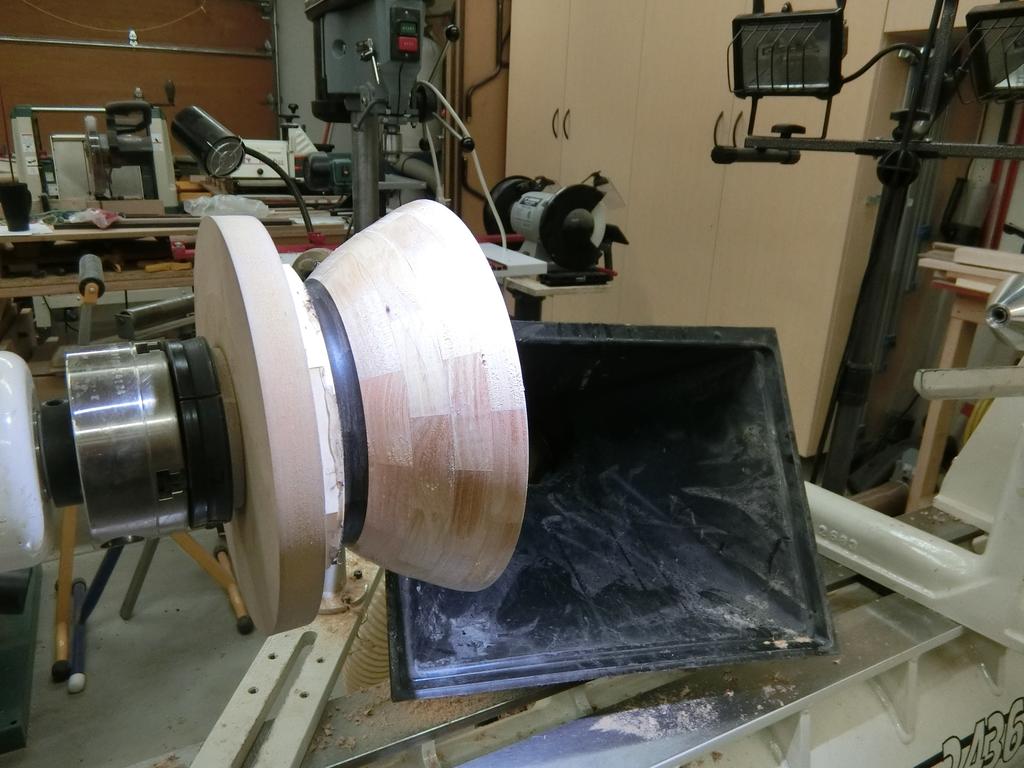
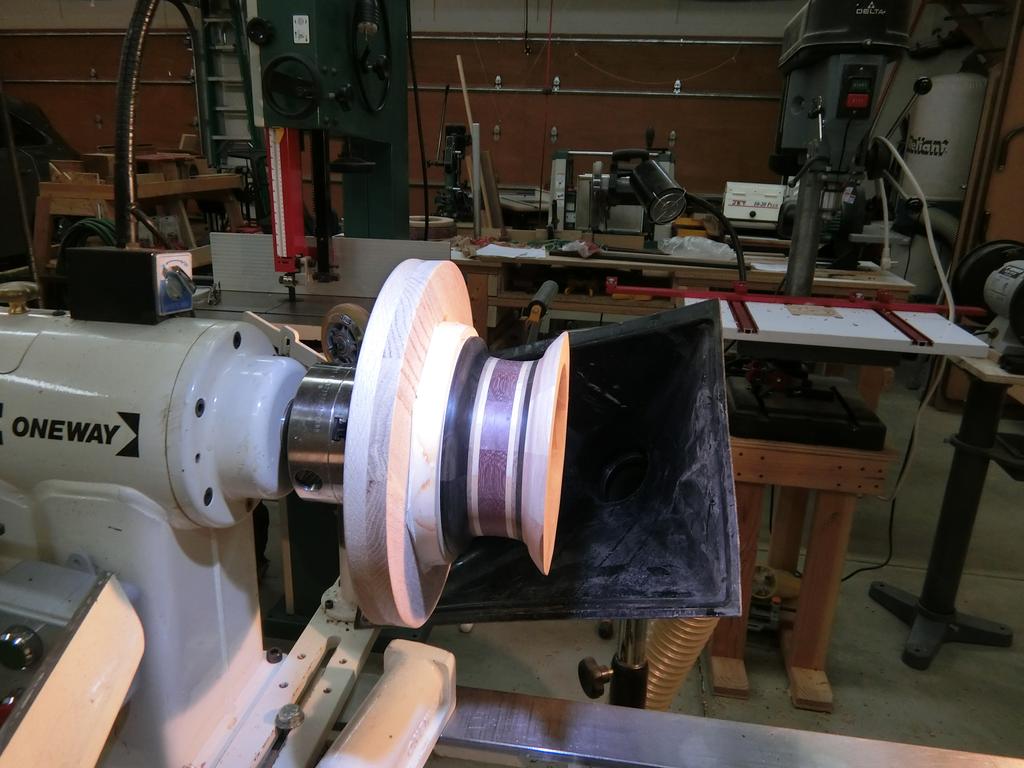
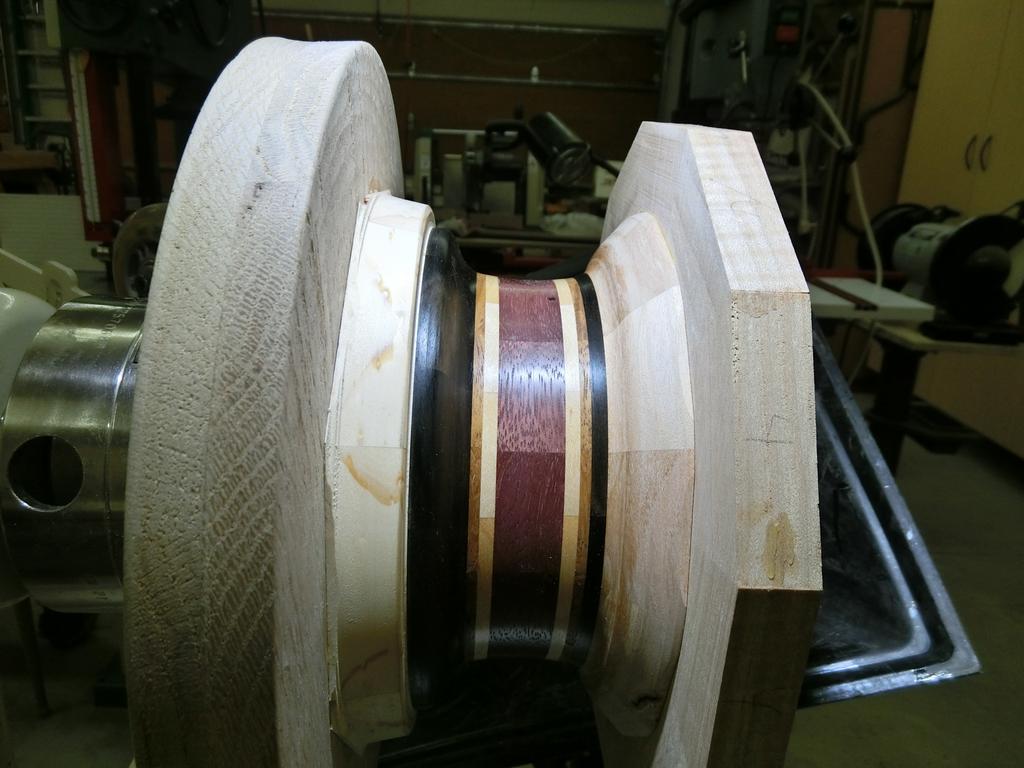
The base ring, on the right, is complete, and the
top ring, on the left, has one more glue joint to go.
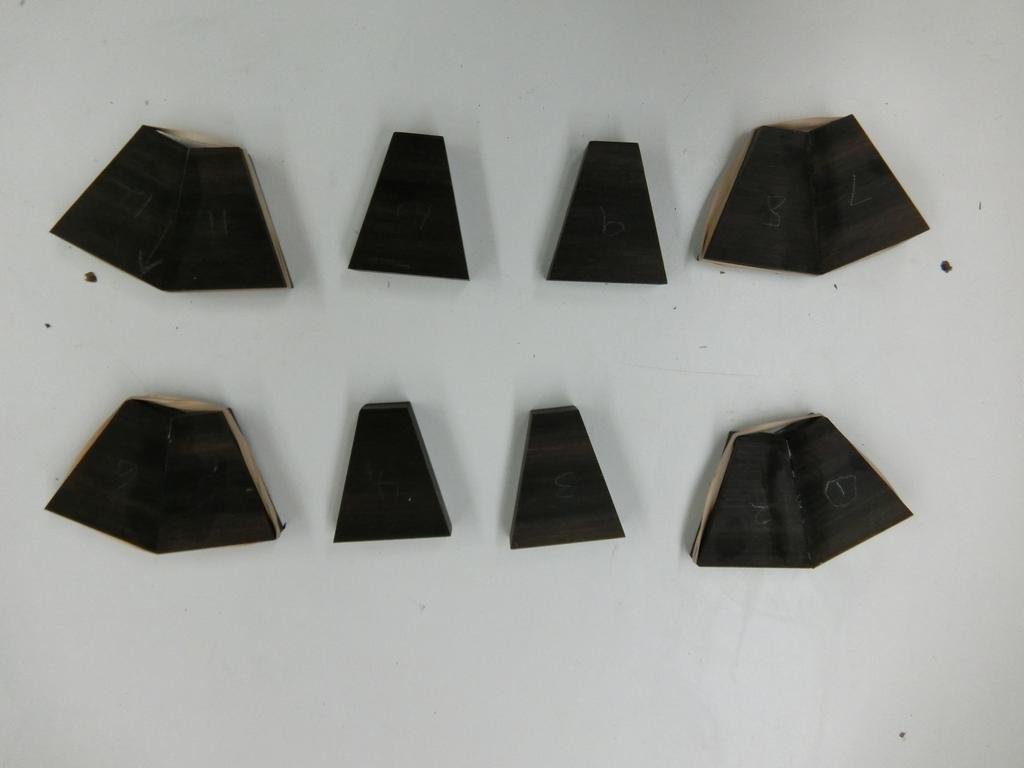
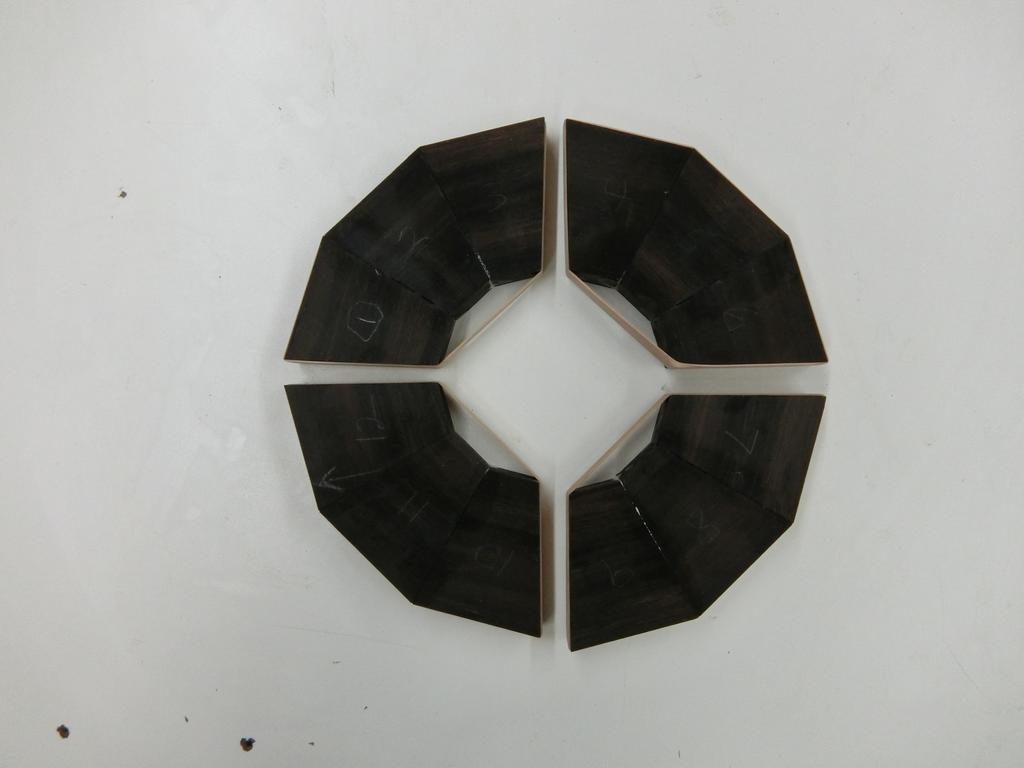
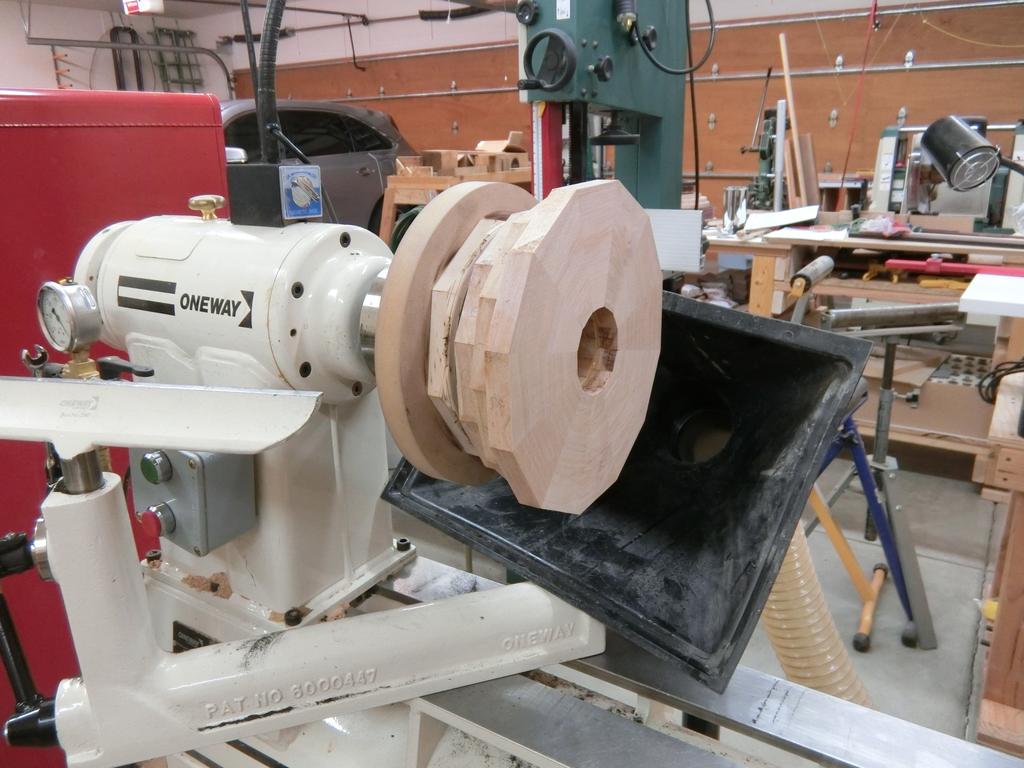
The body rings take shape.
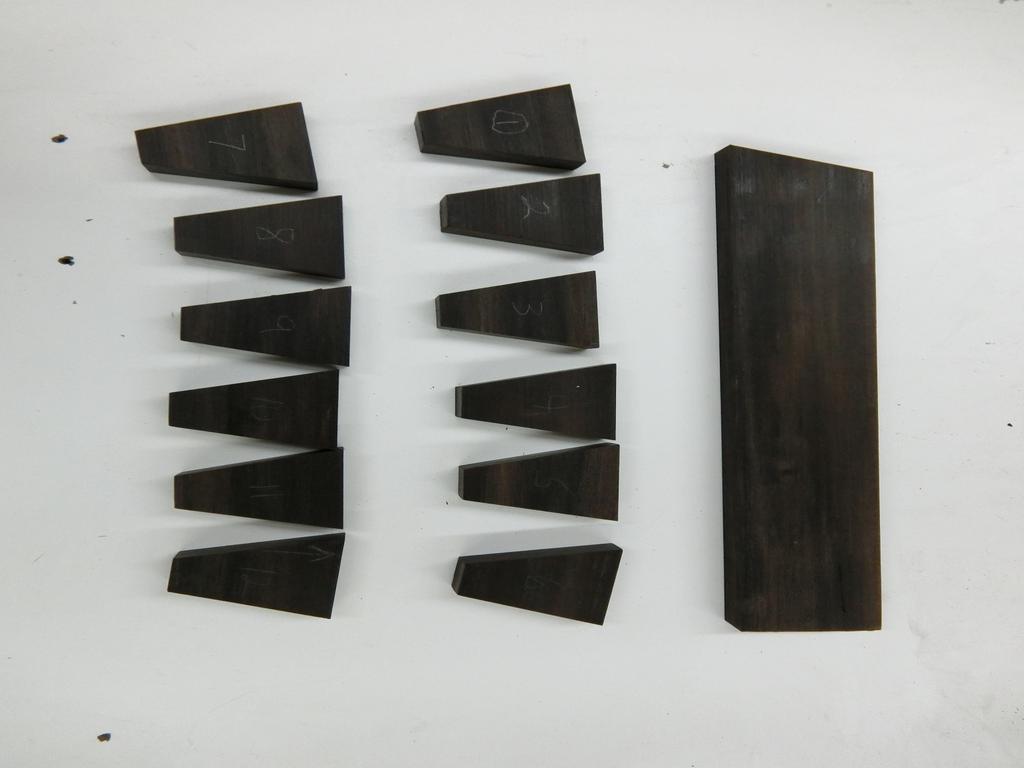
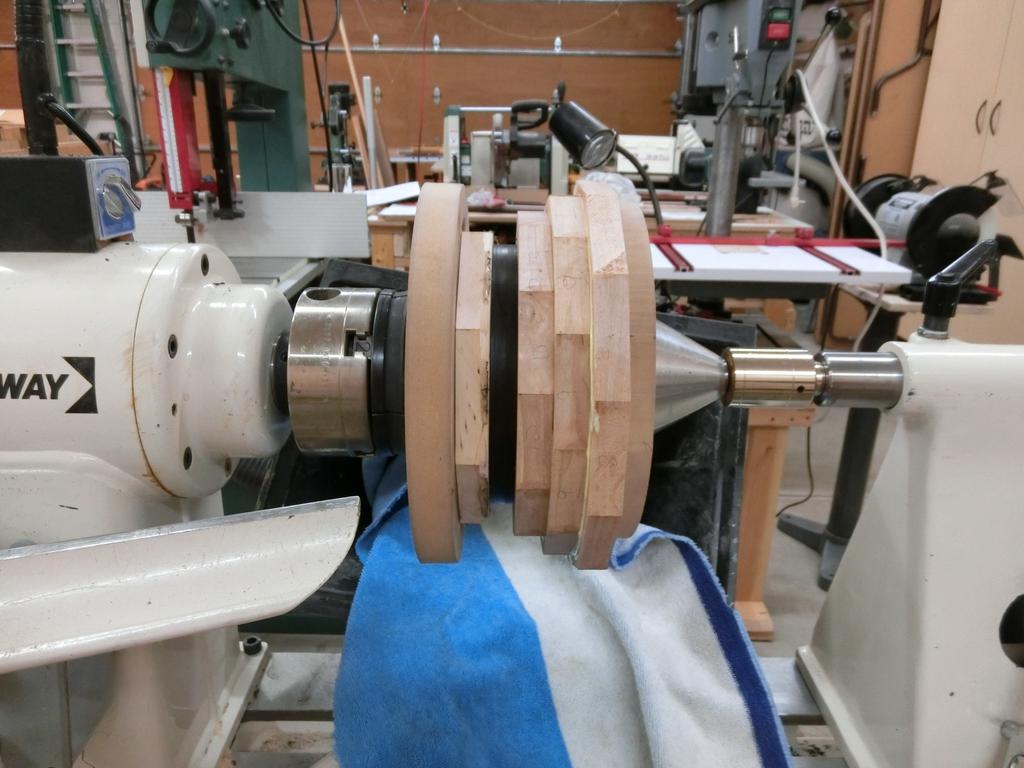
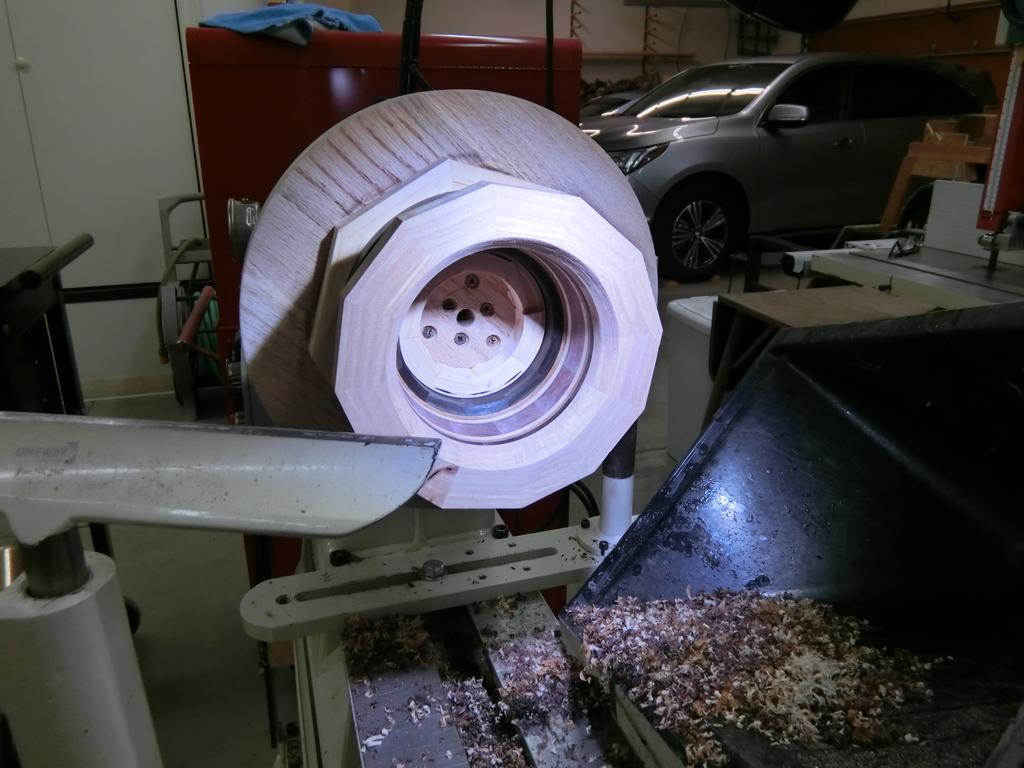
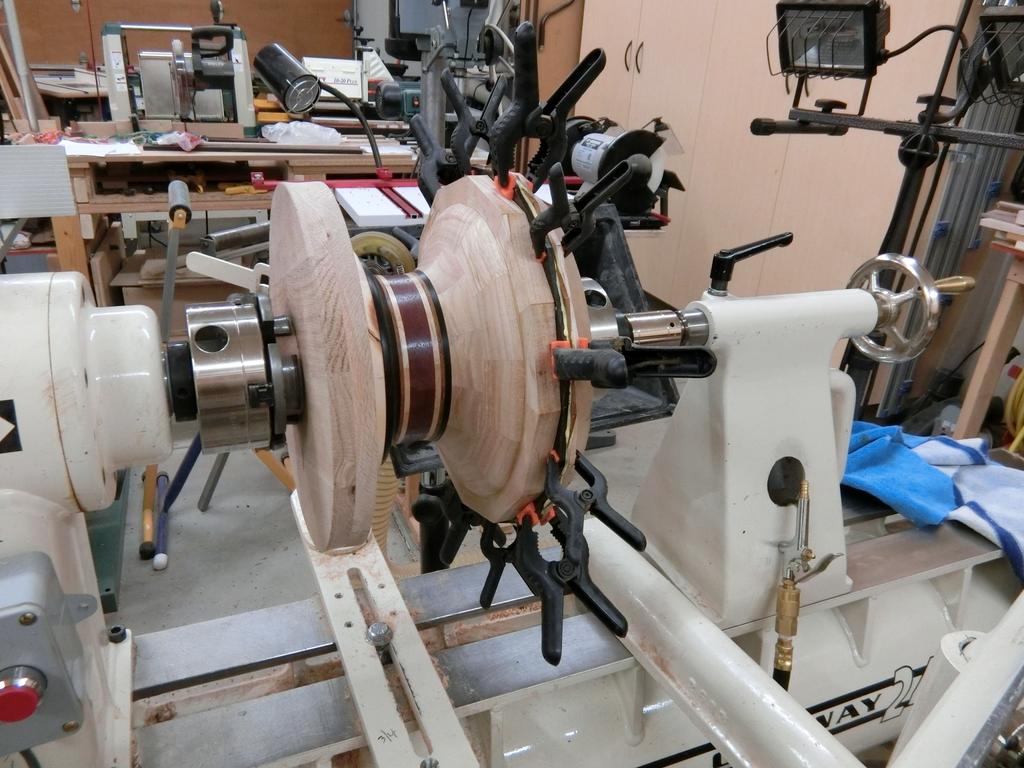
The next pictures show the
ring stackingprocess, as the base module comes together,
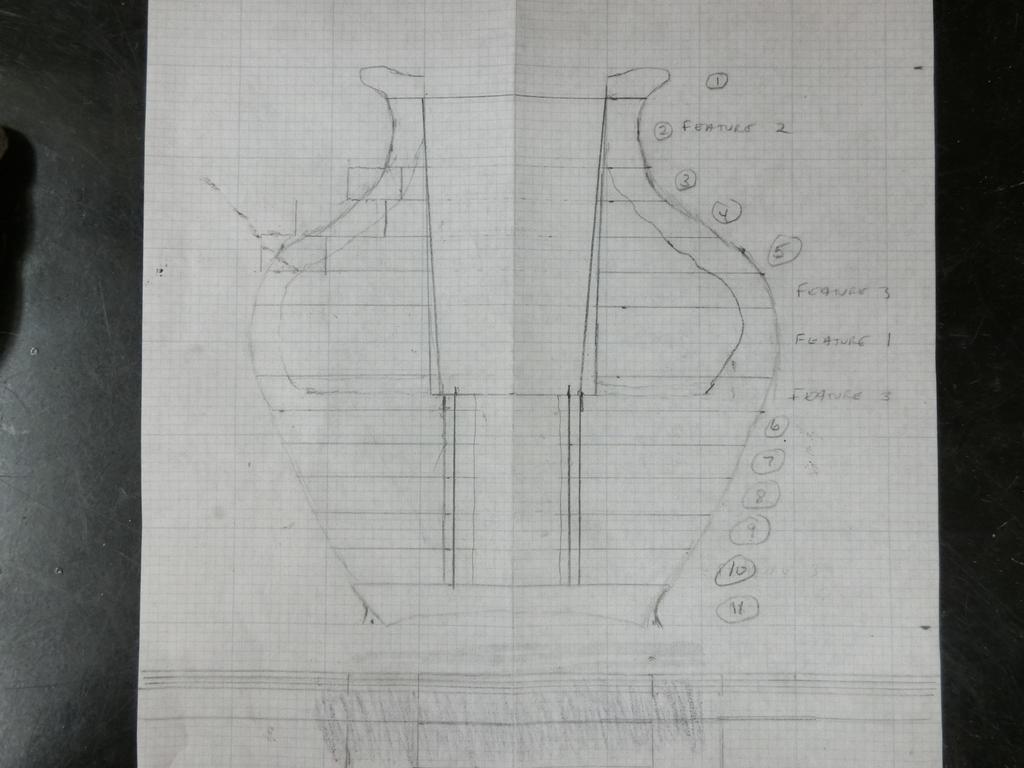
with rings 6 through 11, as pictured in the design drawing.
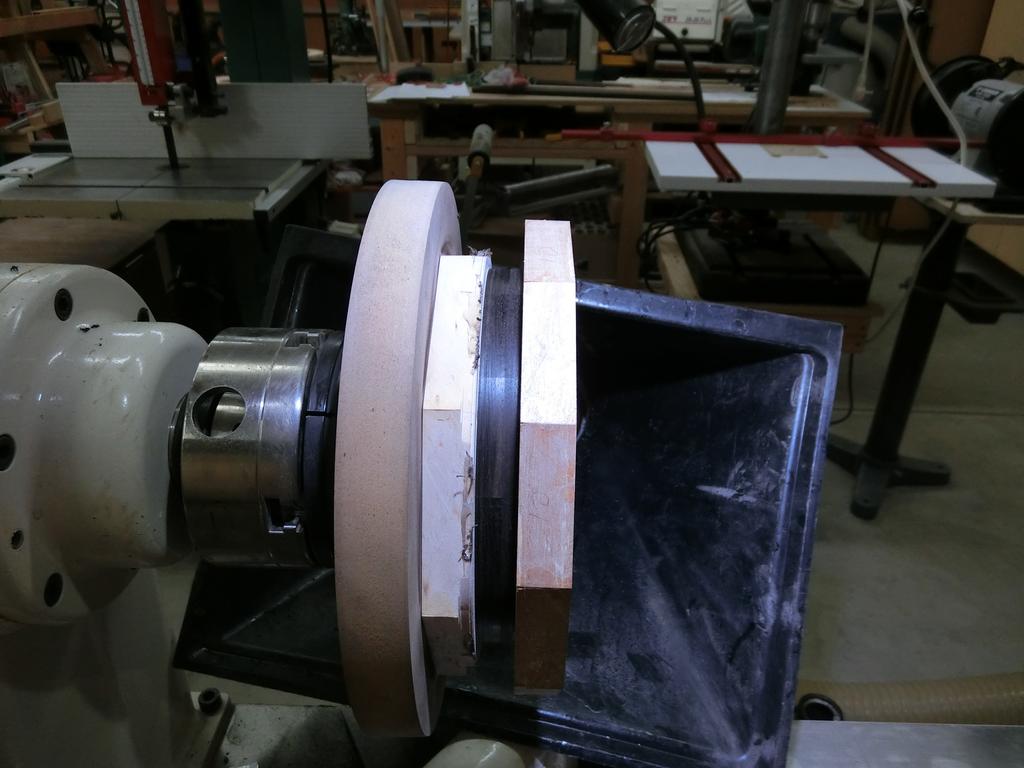
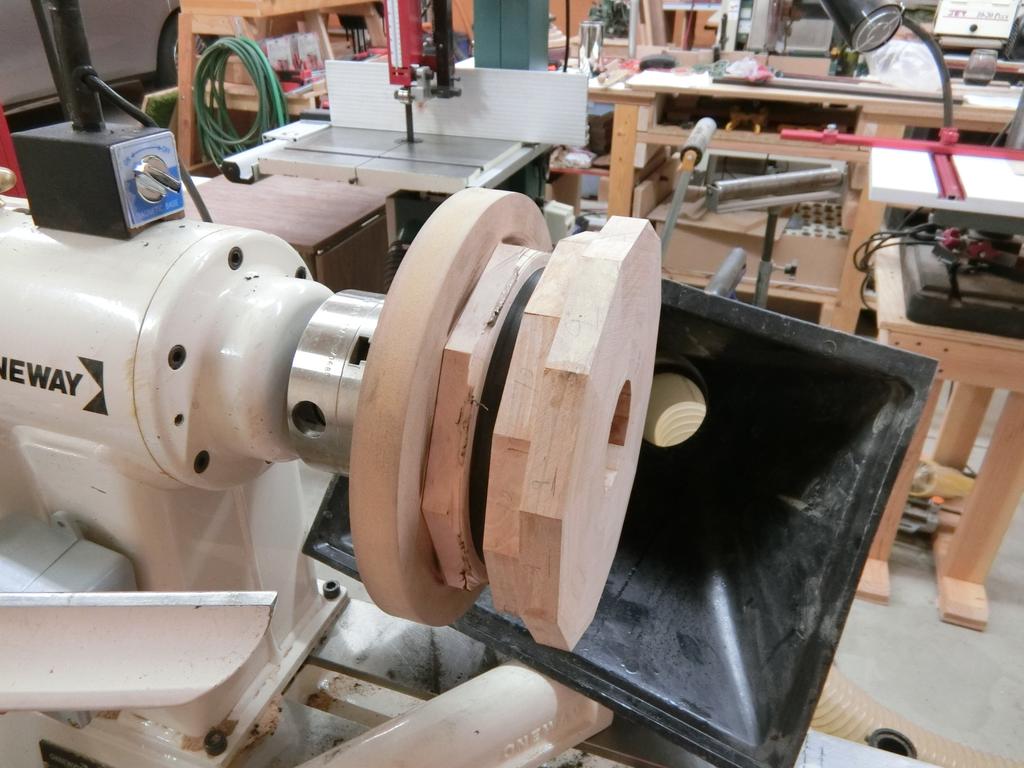
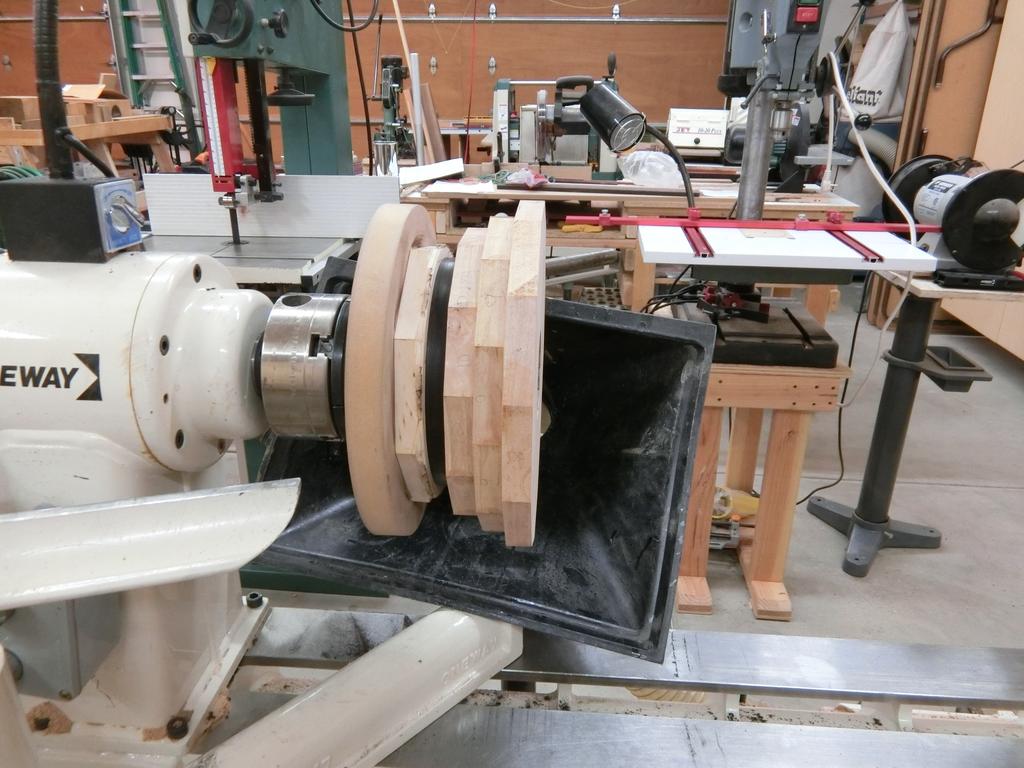
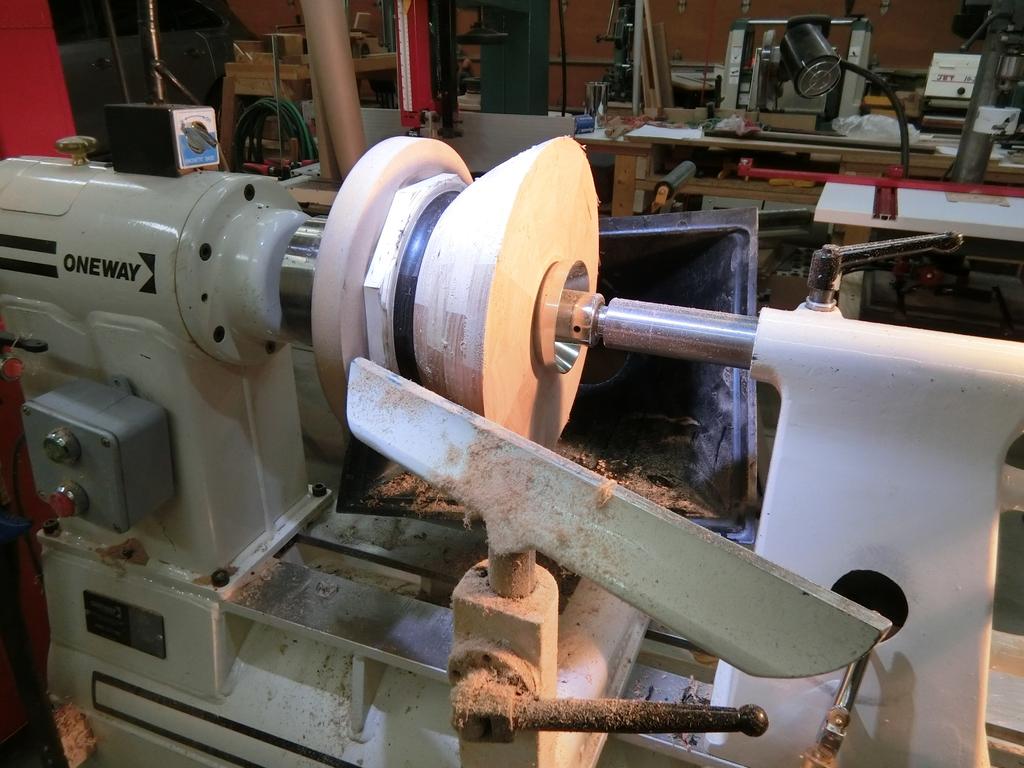
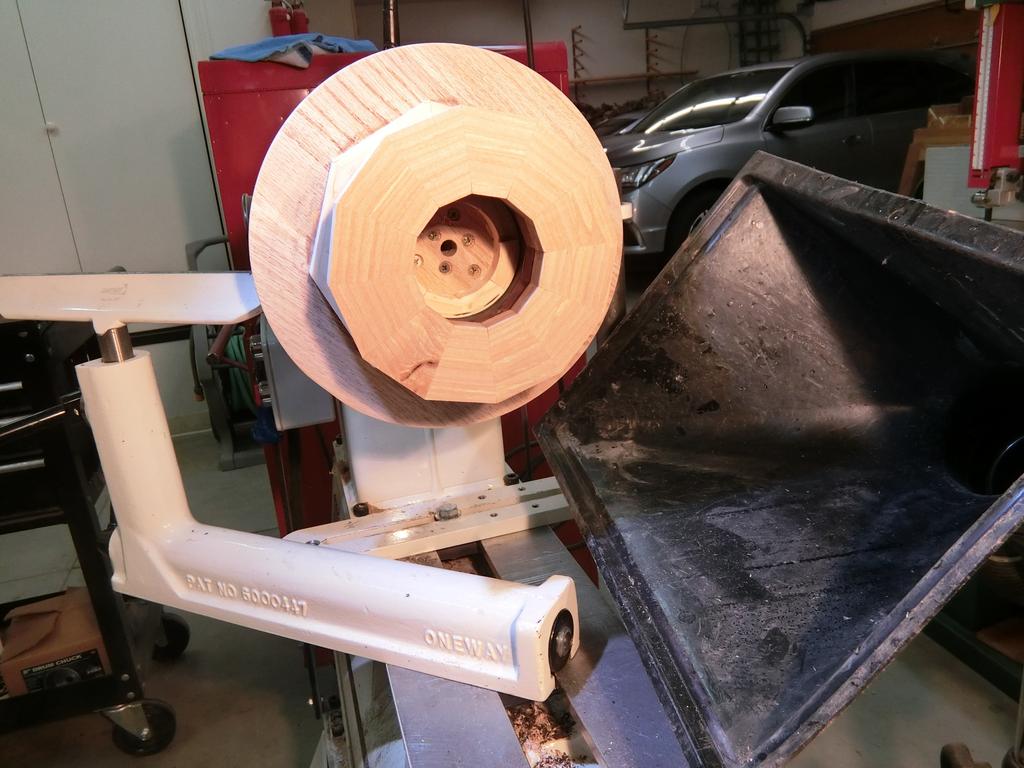
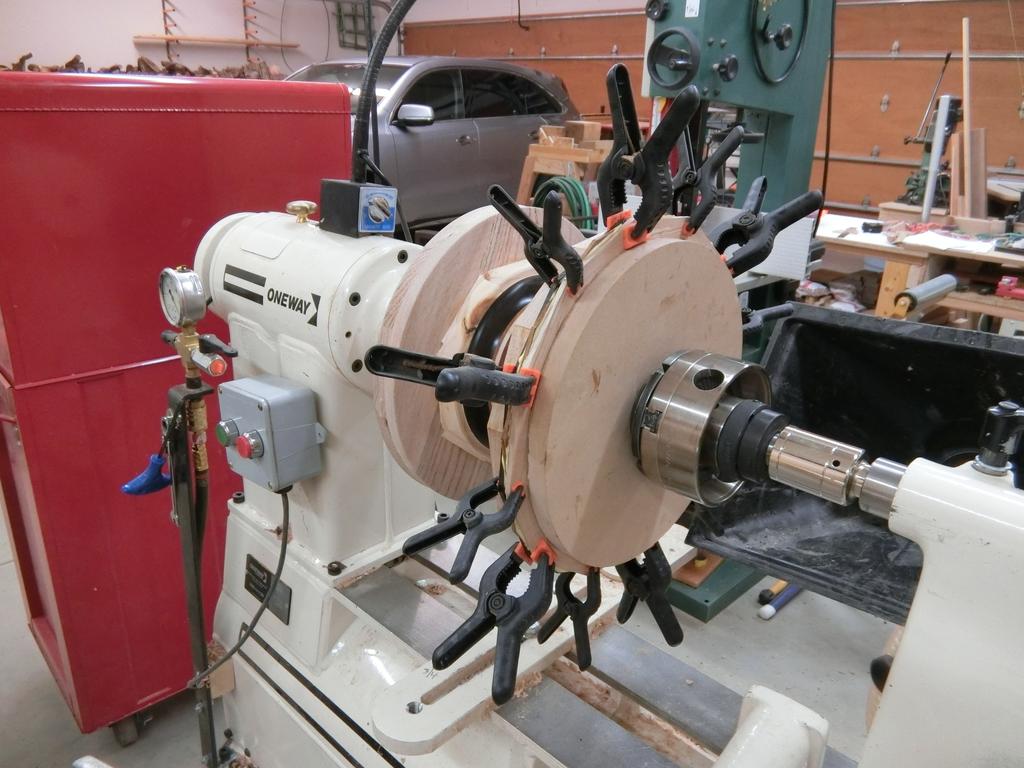
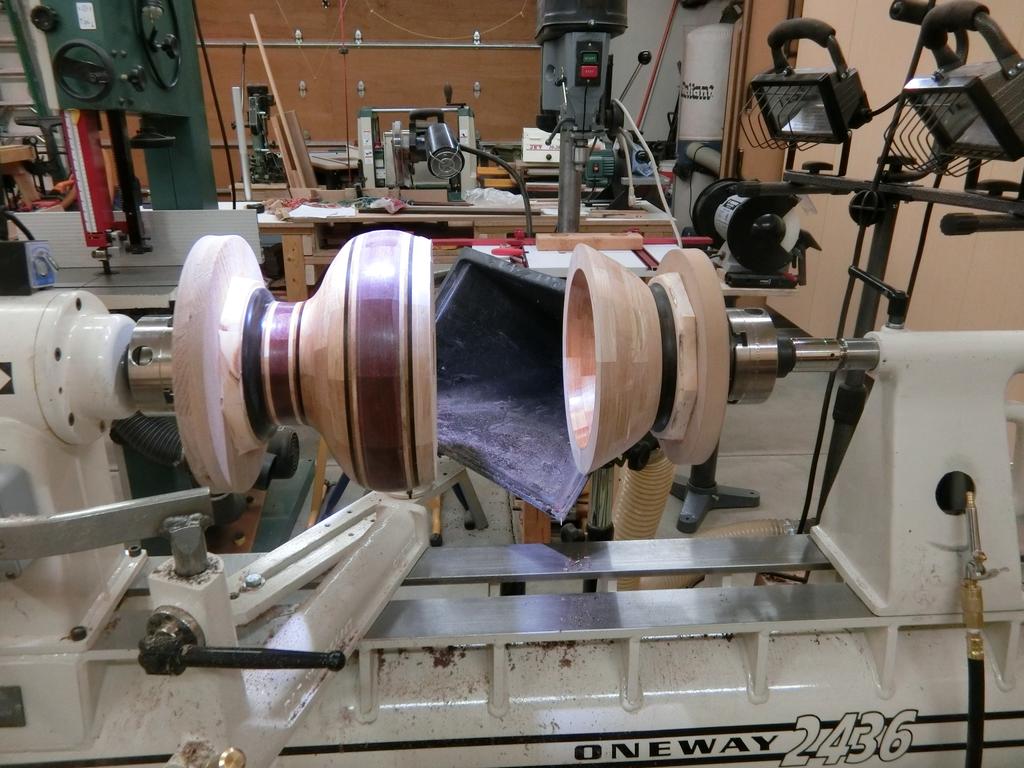
The stacking for the base module and rough shaping has taken place. I had planned to complete this large project in three separate modules, to be joined later. The base module, the main feature ring, and the top module, which includes the
minor feature ring.Ultimately, I built it in two modules. (Note: My later large vases have been made with a
3-moduleprocess, which I definitely prefer.)

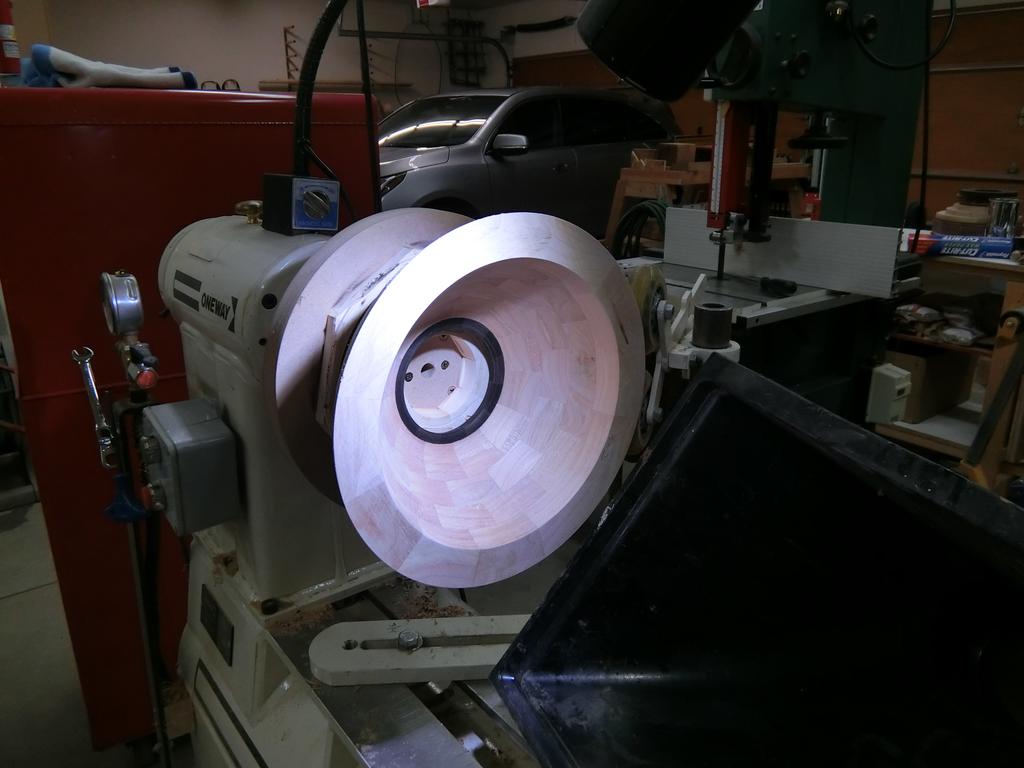
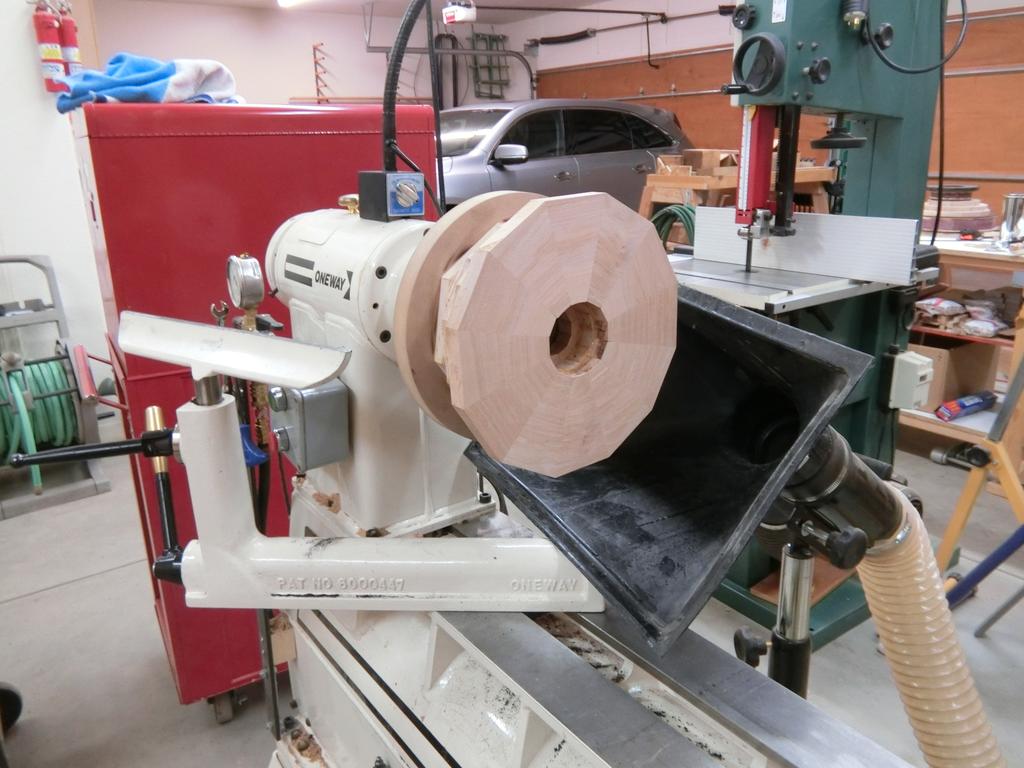
This is the buildup of the top module, beginning with the top ebony ring.
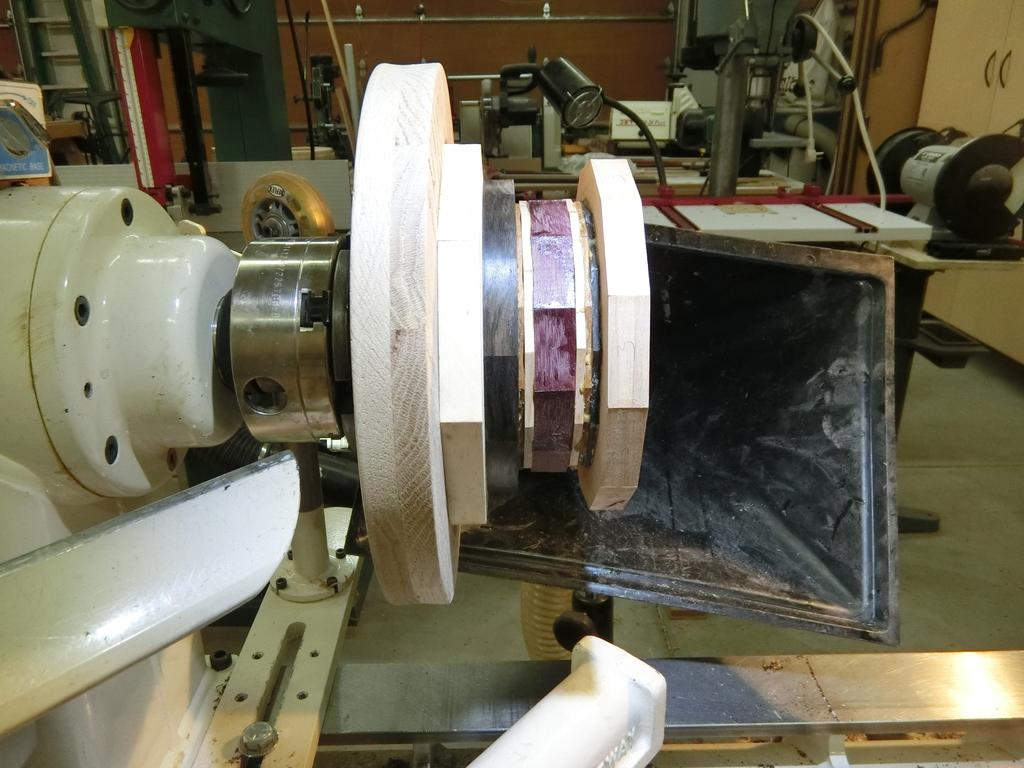
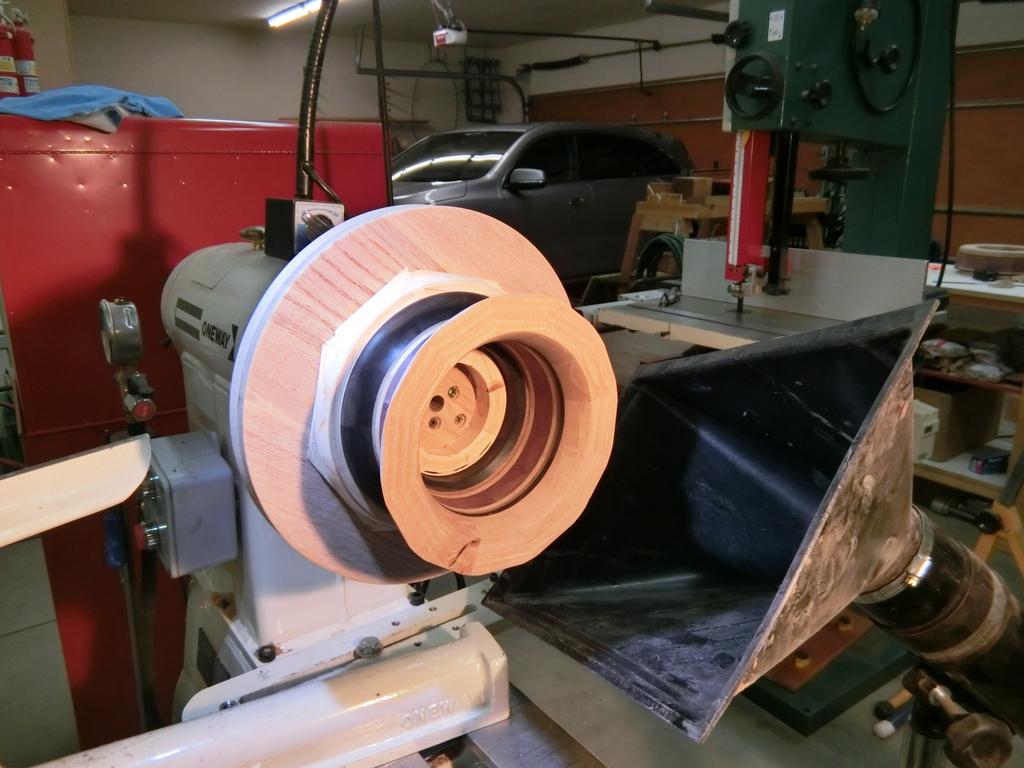
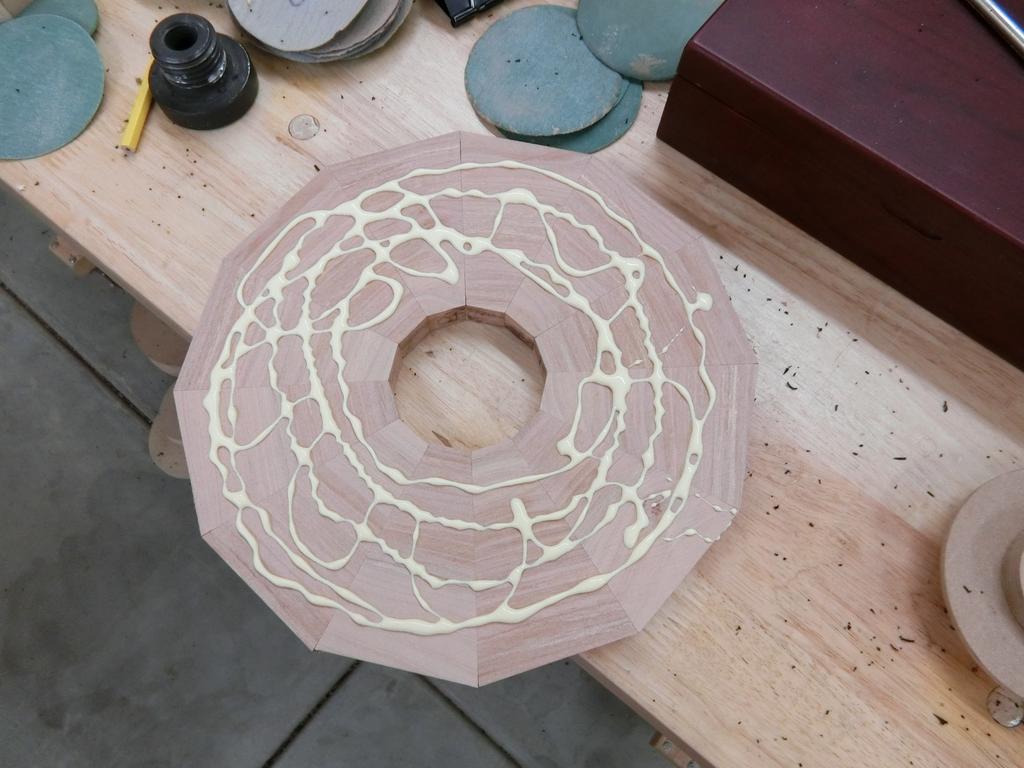
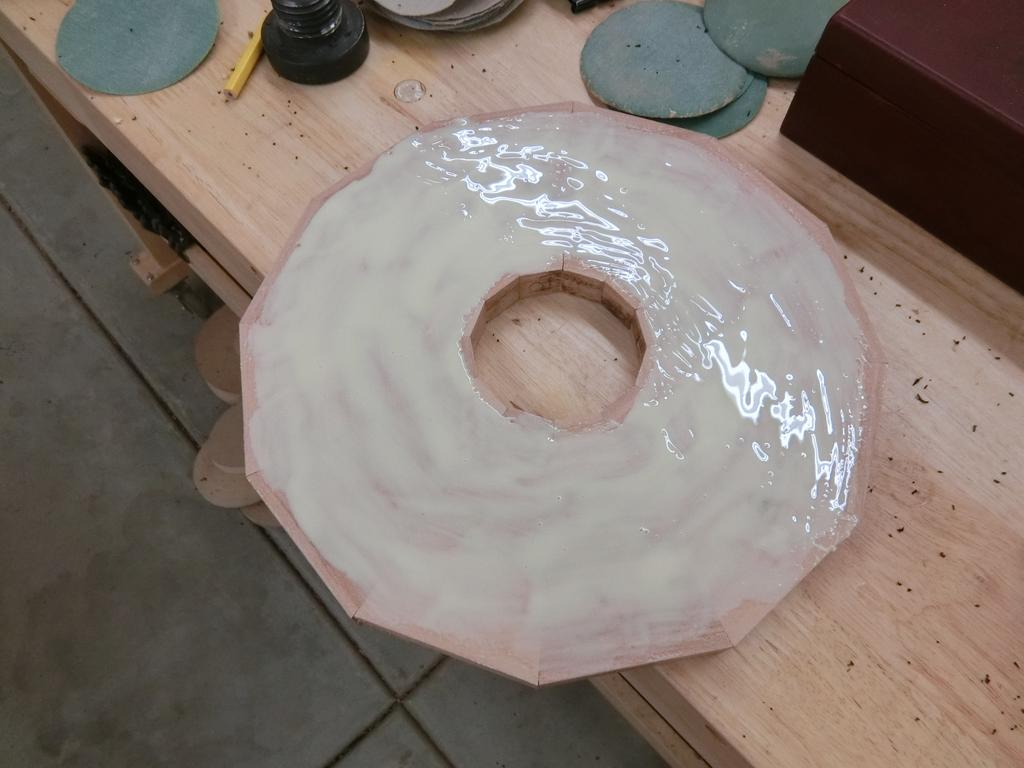
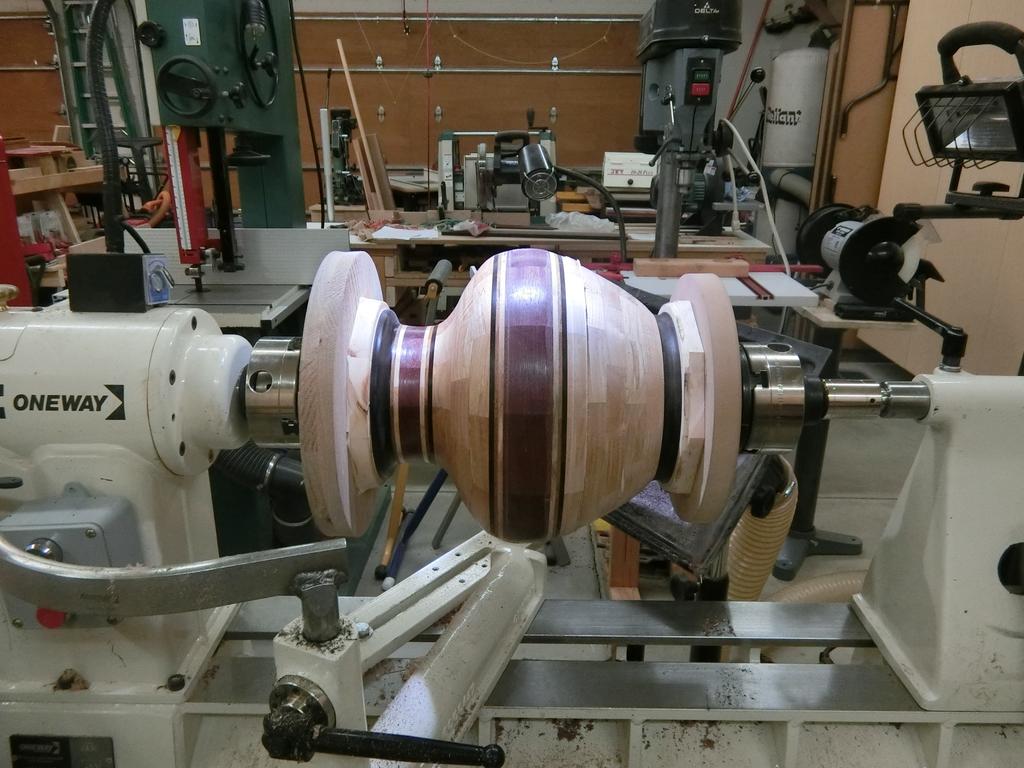
The beginning of the main feature ring.
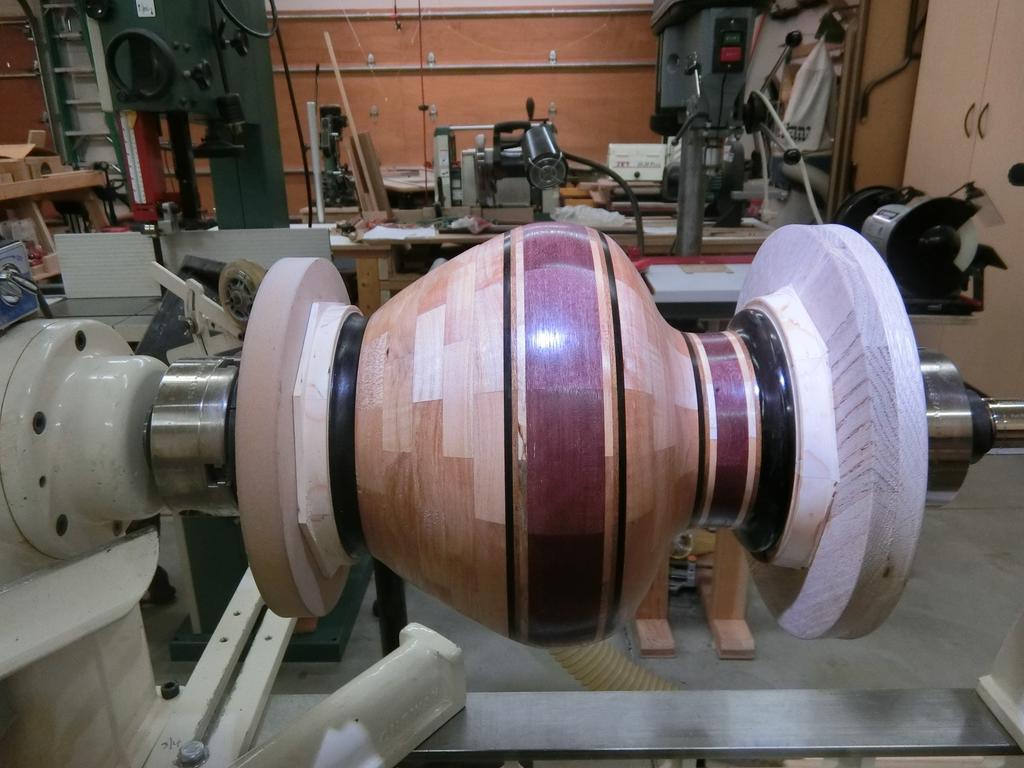
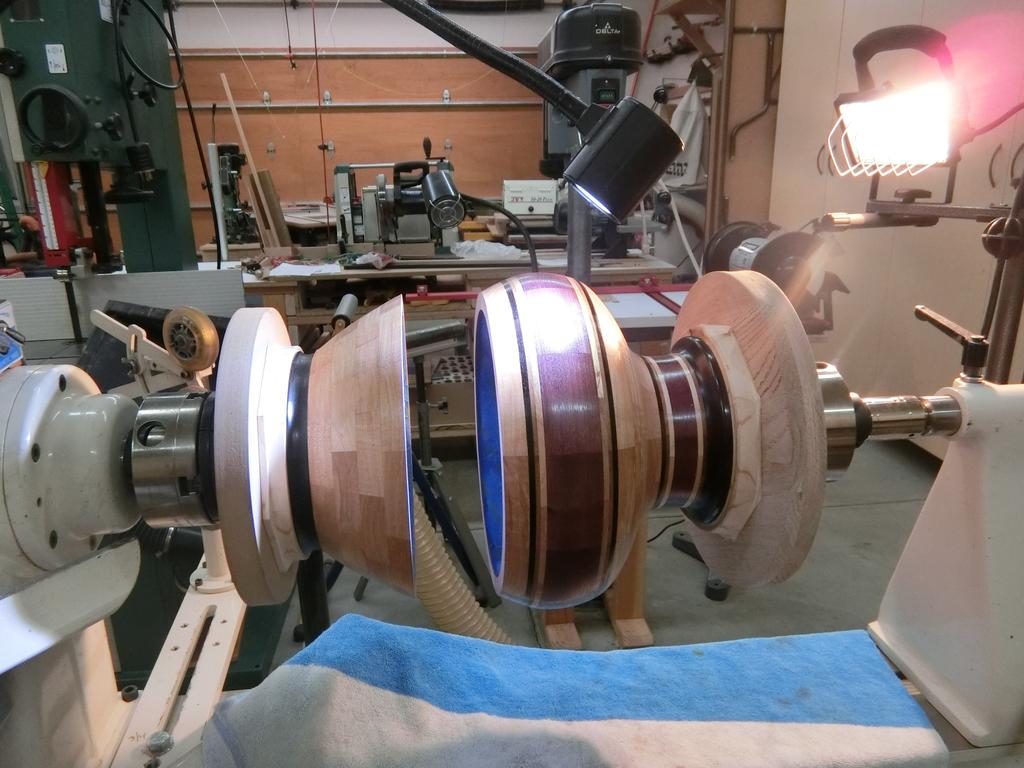
This is the very first preview of how the completed project will look. There is still a LOT of work to be done before the modules are mated, but now I can see how the entire external profile will look. The tricky part is to ensure that the interior profiles will match up as closely as possible. Working on the interior after mating the two halves will be difficult.
Now that I’m happy with both the interior and exterior profiles, I’ve covered the inside surfaces with masking tape in preparation for the gluing process, to protect those edges from glue squeeze out.
The two modules are now glued together and I will complete the final sanding and finishing of the exterior while it is still mounted on the lathe. I won’t be able to see the interior joints until the exterior is finished and the project is cut off its mounts, at least three days from this point. After separation from the mounts, I’ll finish the top and bottom edges, and then find a way to clean up any interior blemishes on the mating joint. The project will be complete!