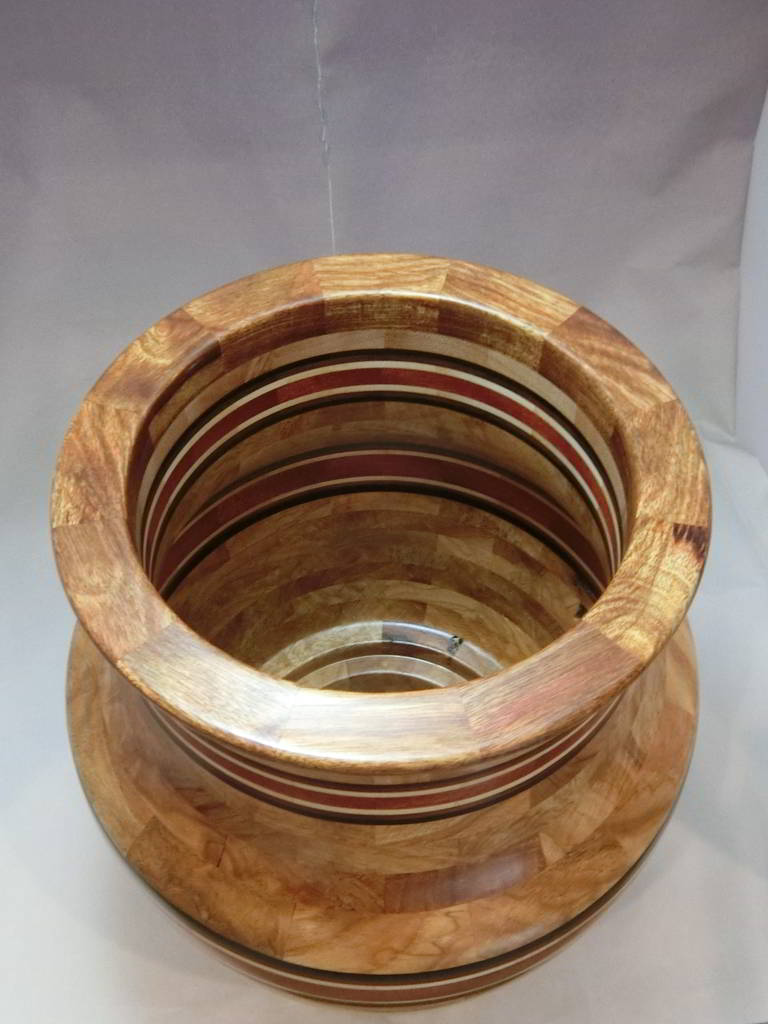
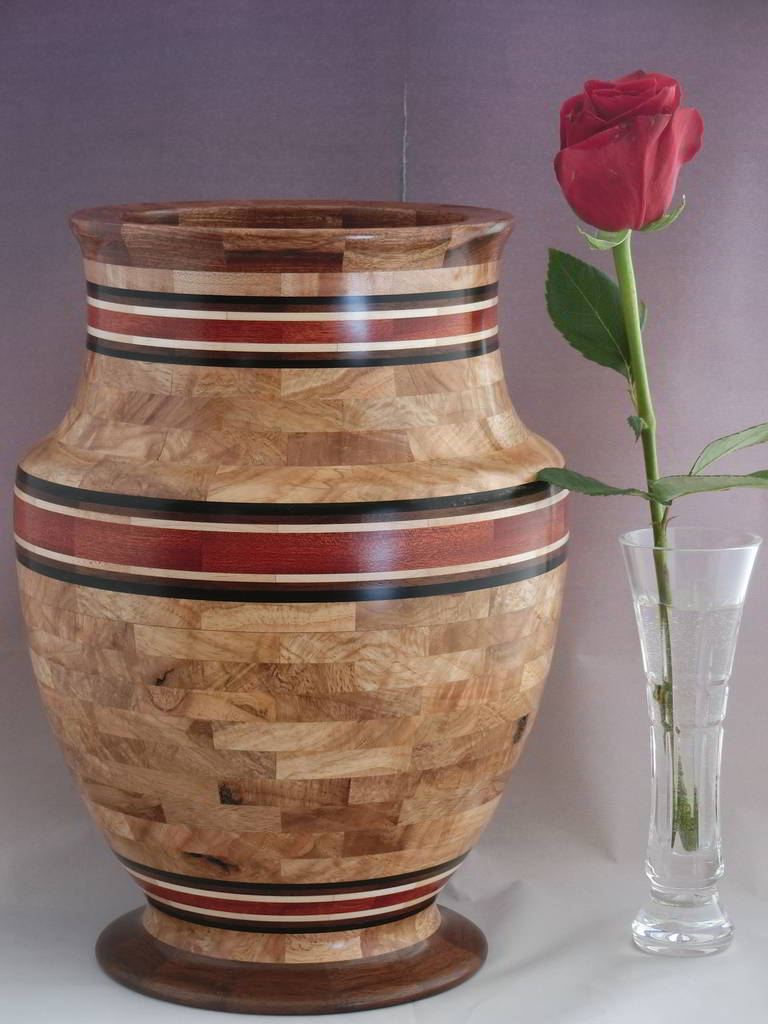
Even this large insert is easy to remove and replace. Refer to the instructions at the end of the photos
of Segmented #6.
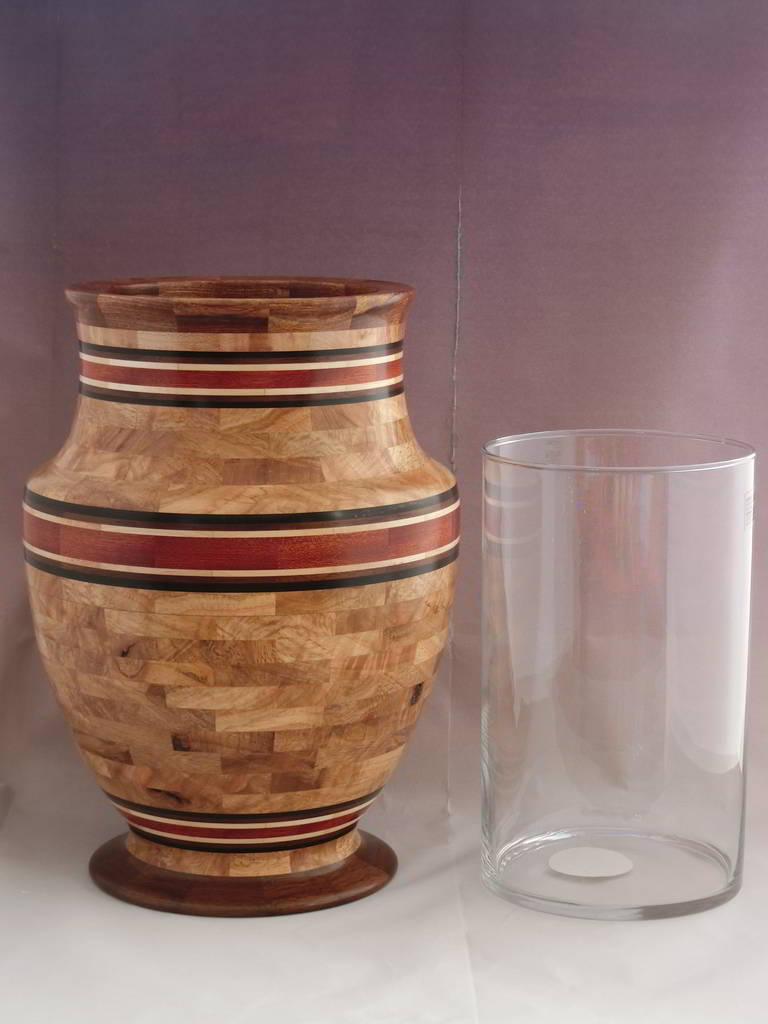
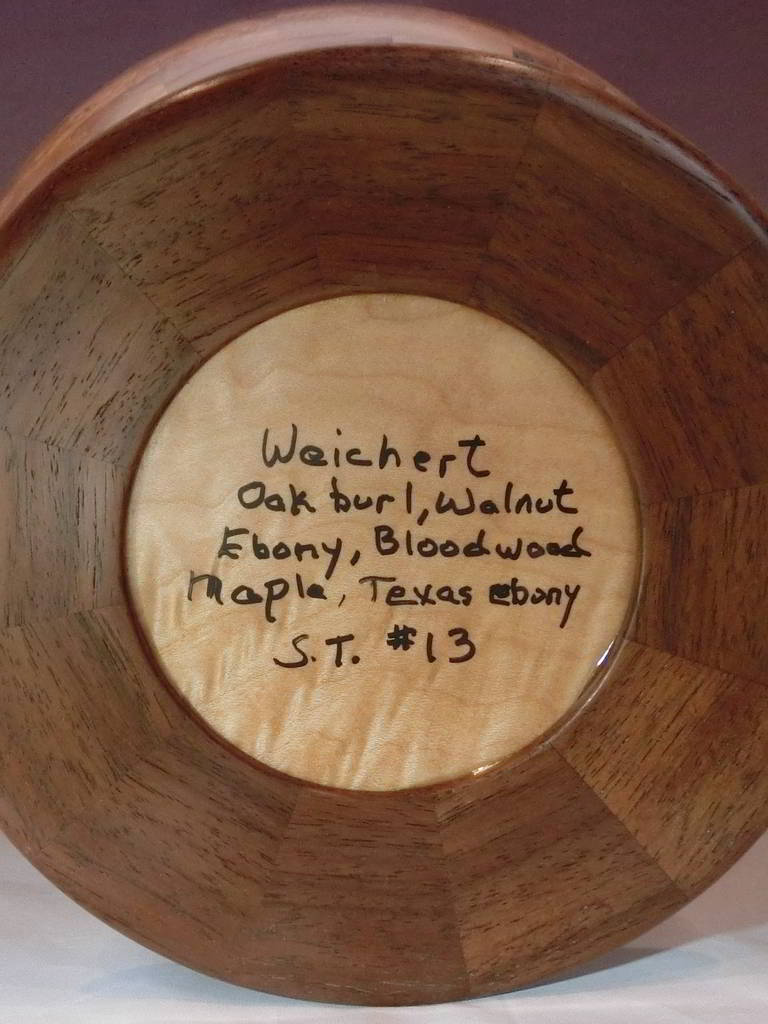


Segmented #13 Construction Process
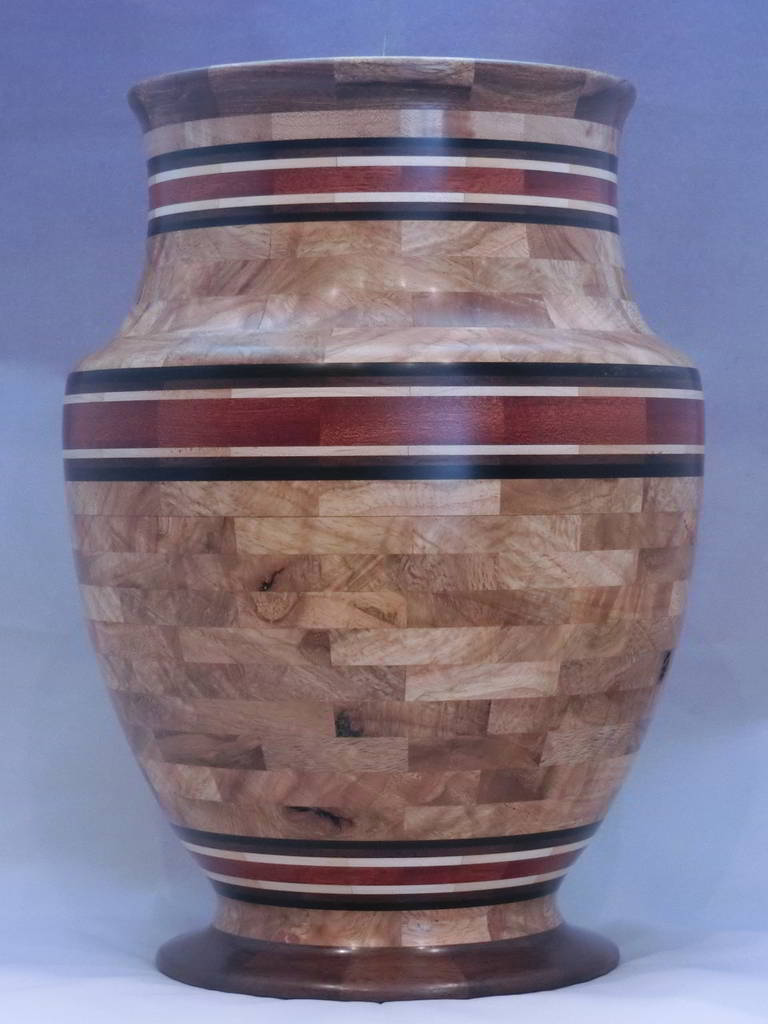
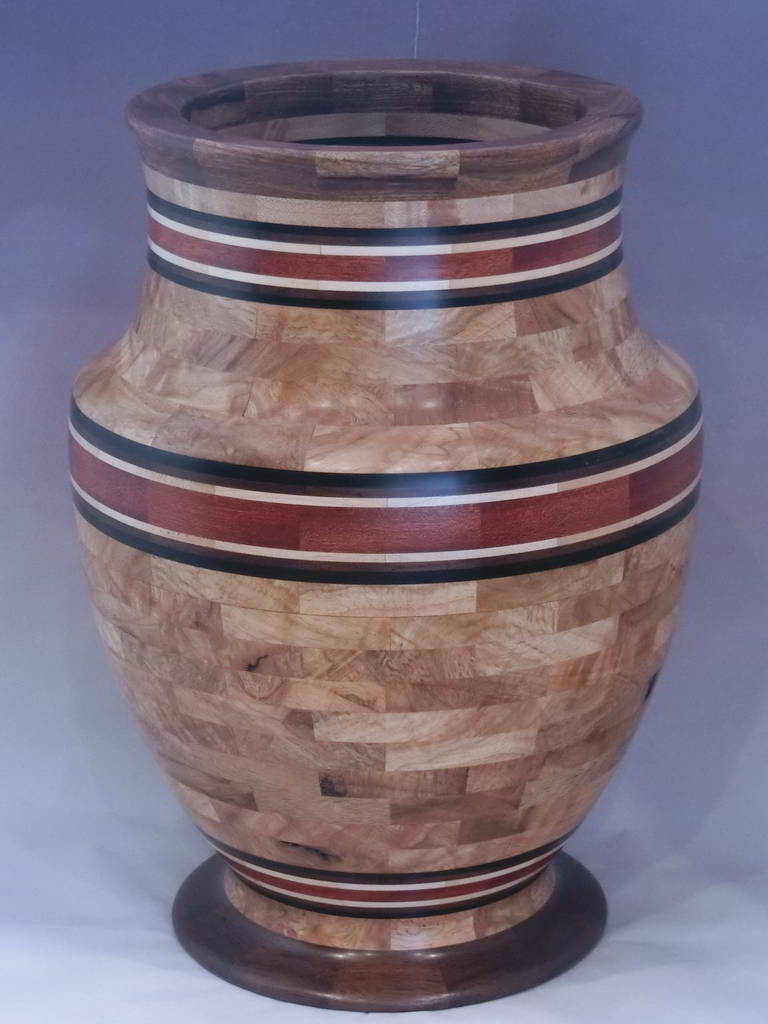
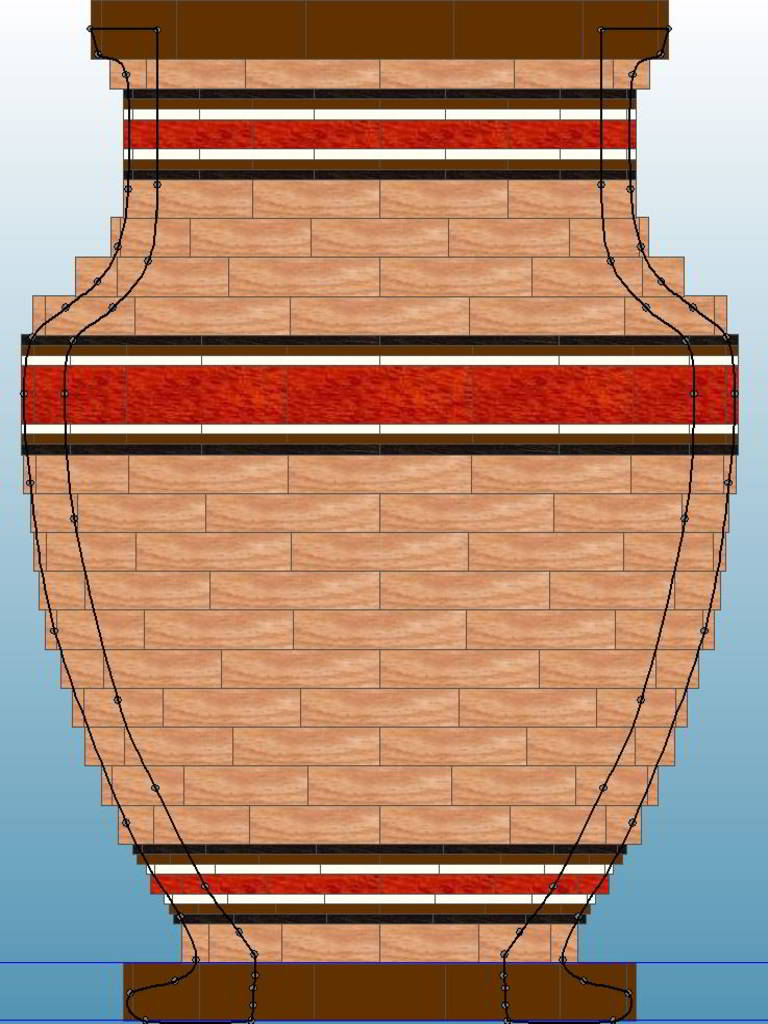
The final design
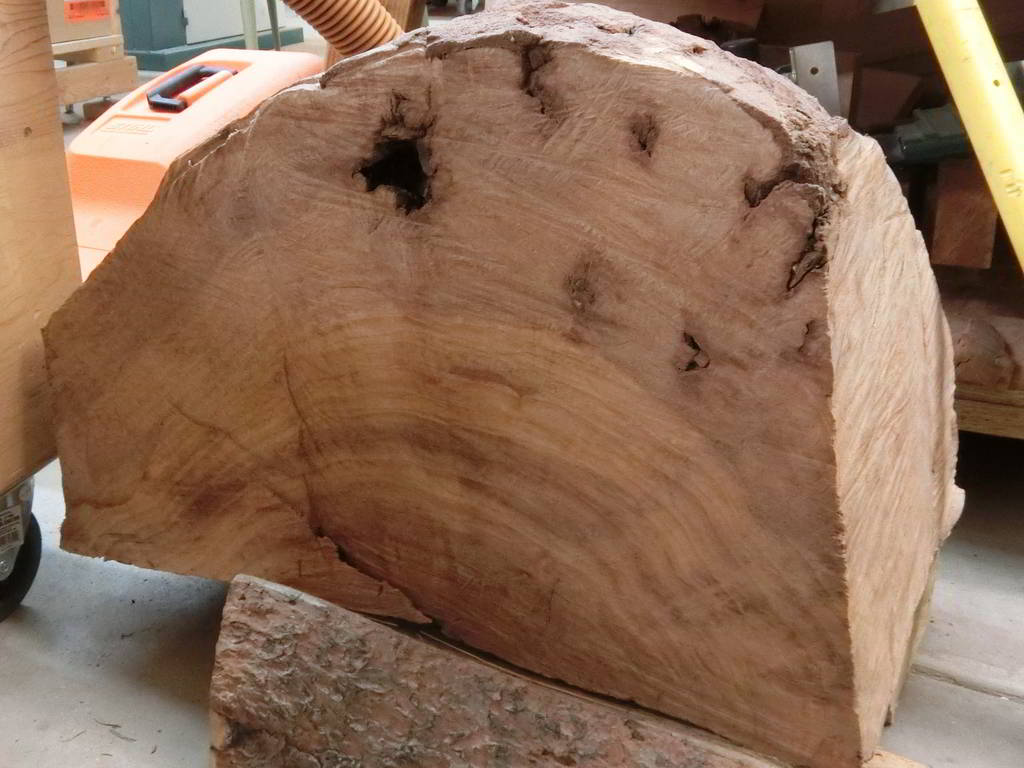
Milling begins with cutting slabs on the band saw
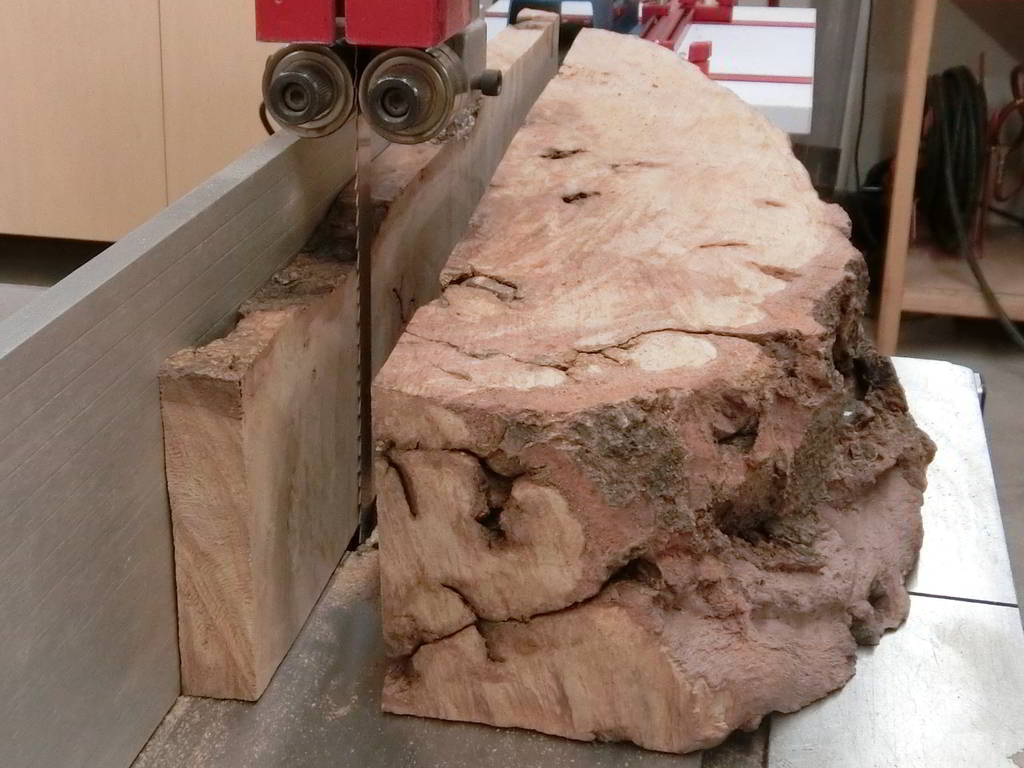
Using the jointer to flatten one face
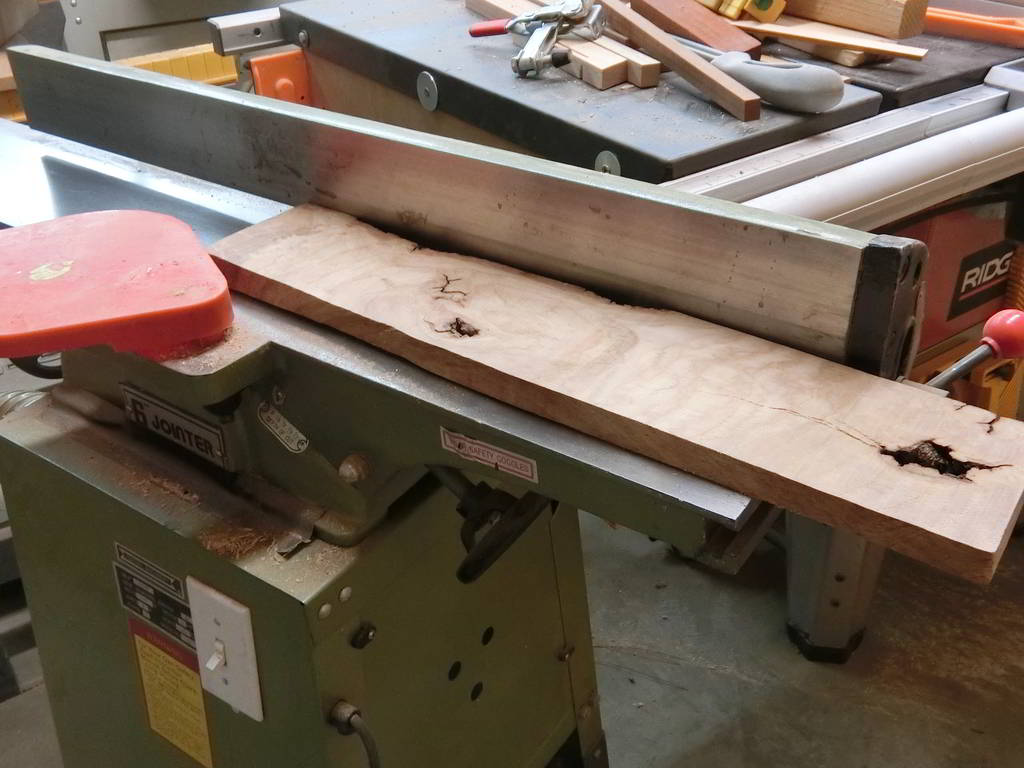
Truing one edge.
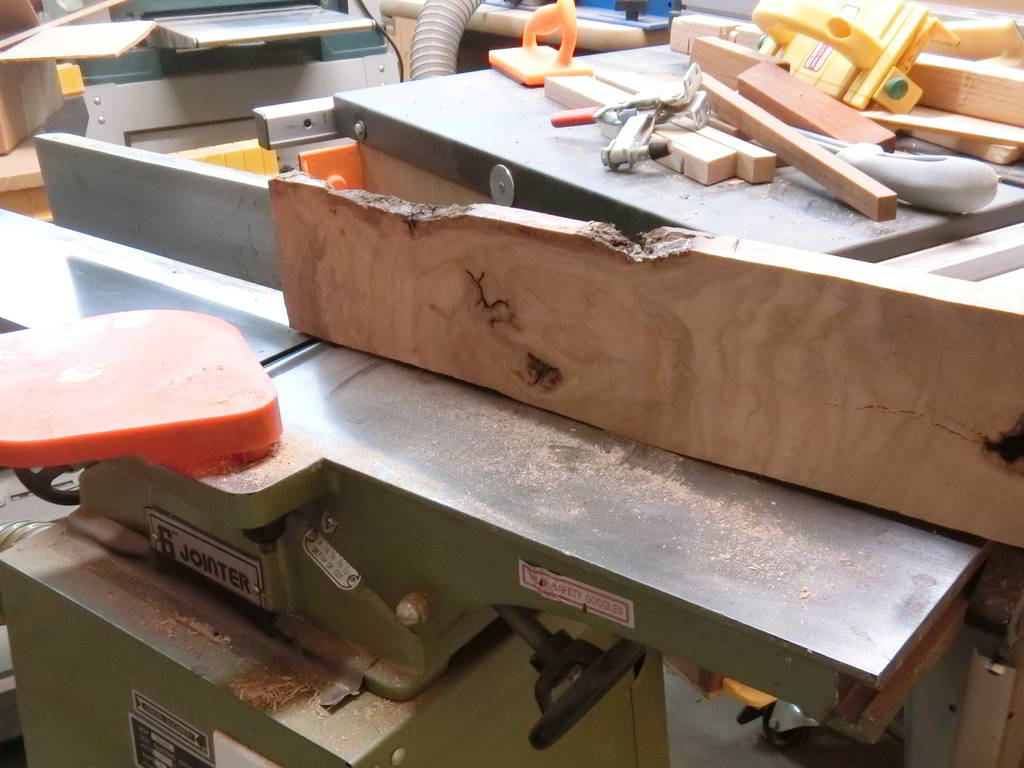
Creating a parallel face with the planer
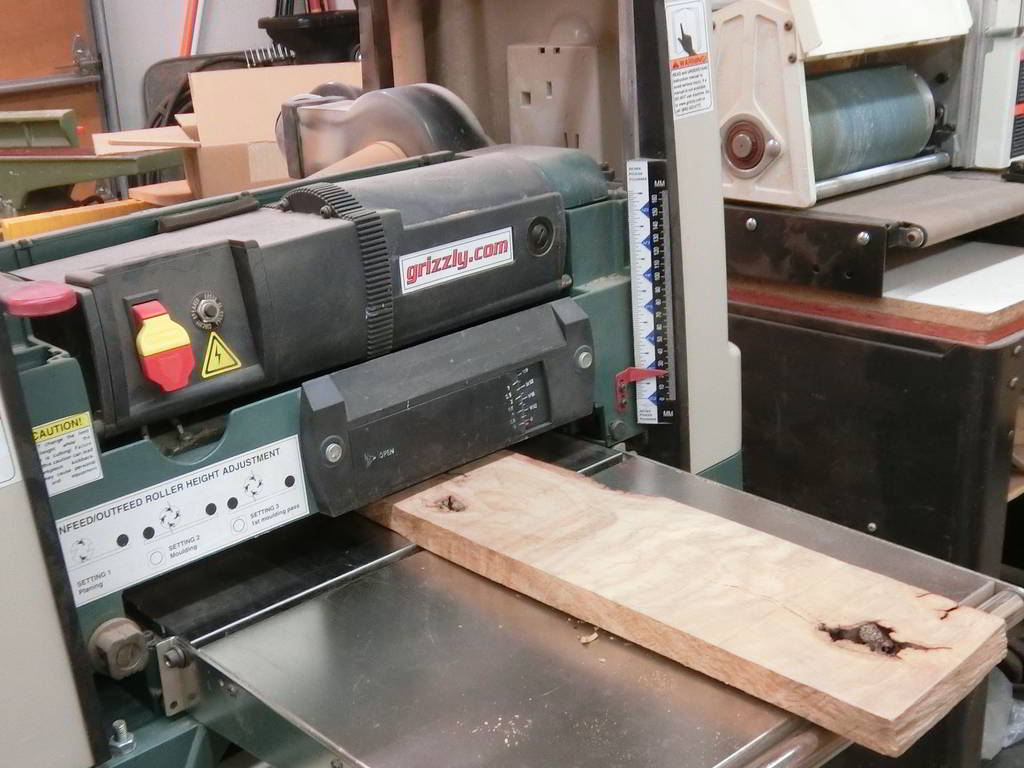
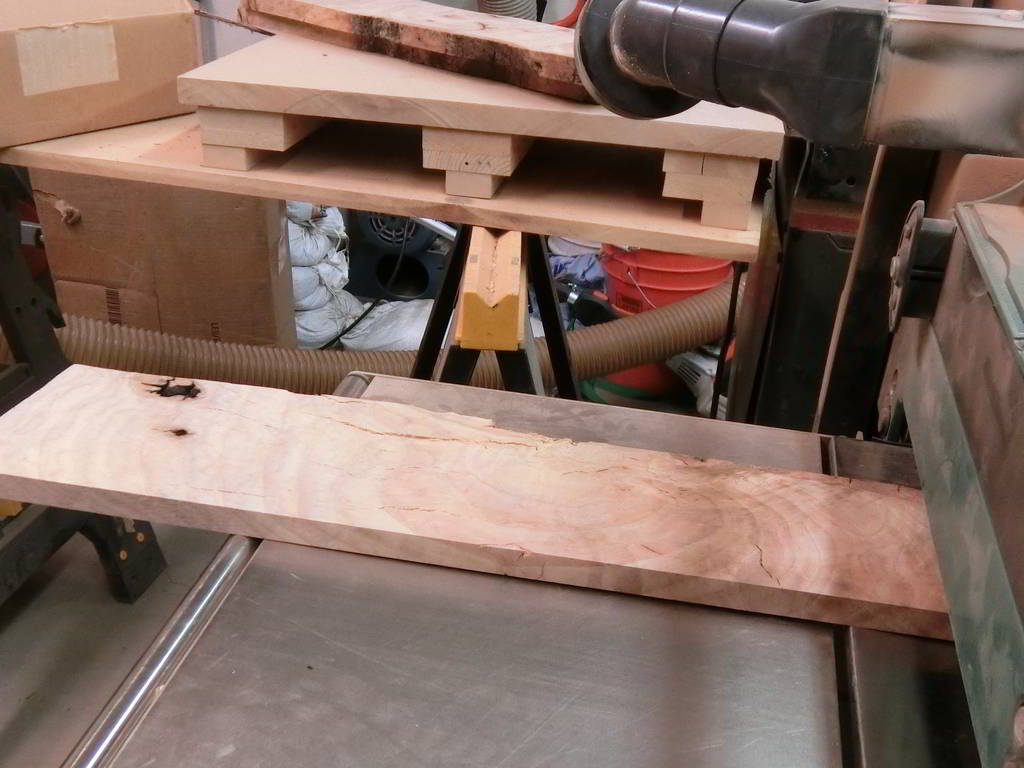
Finished boards cut to width on the table saw. All dimensions must be accurate and parallel.
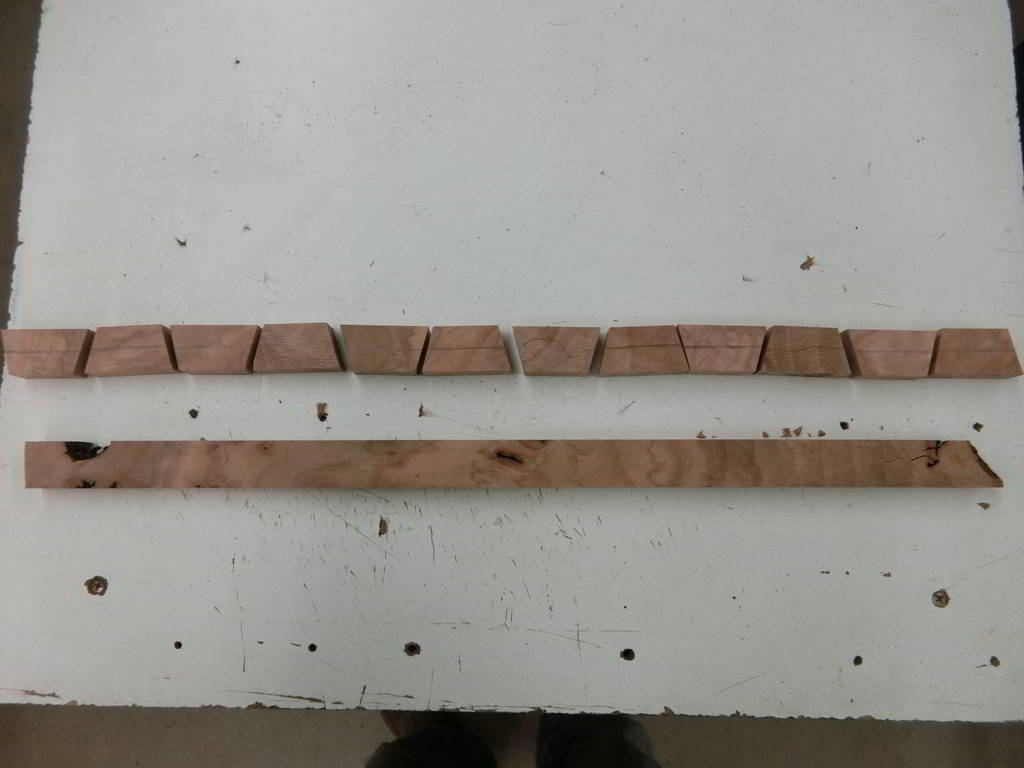
Checking dry fit of segments
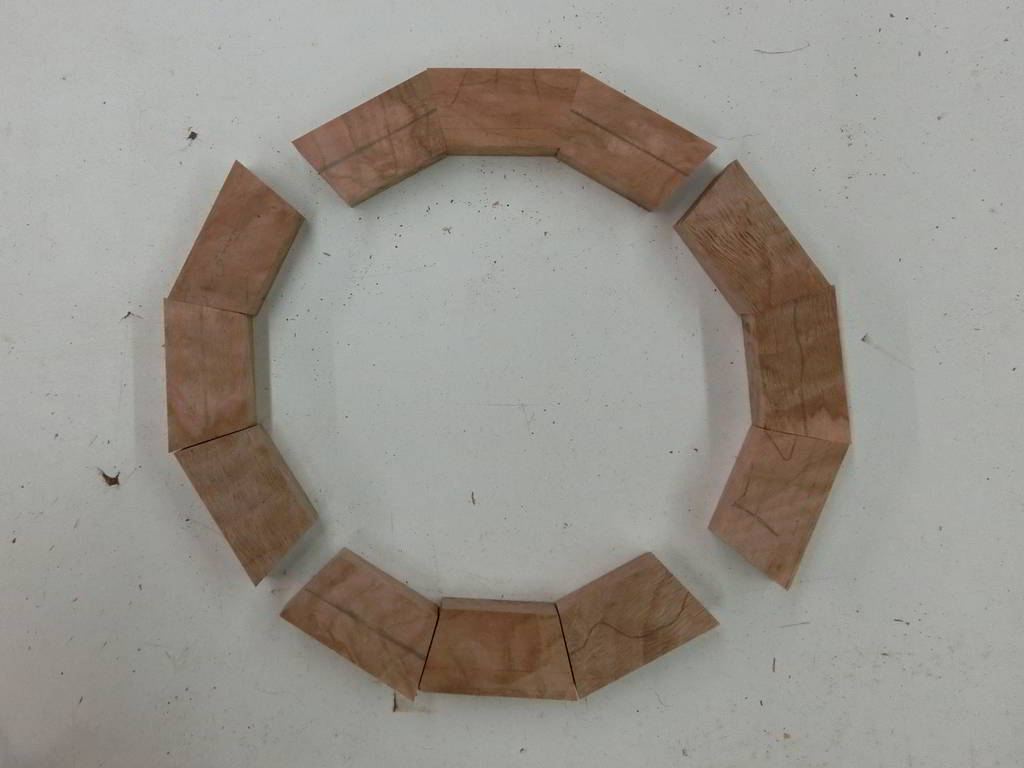
1st step of ring glue-up
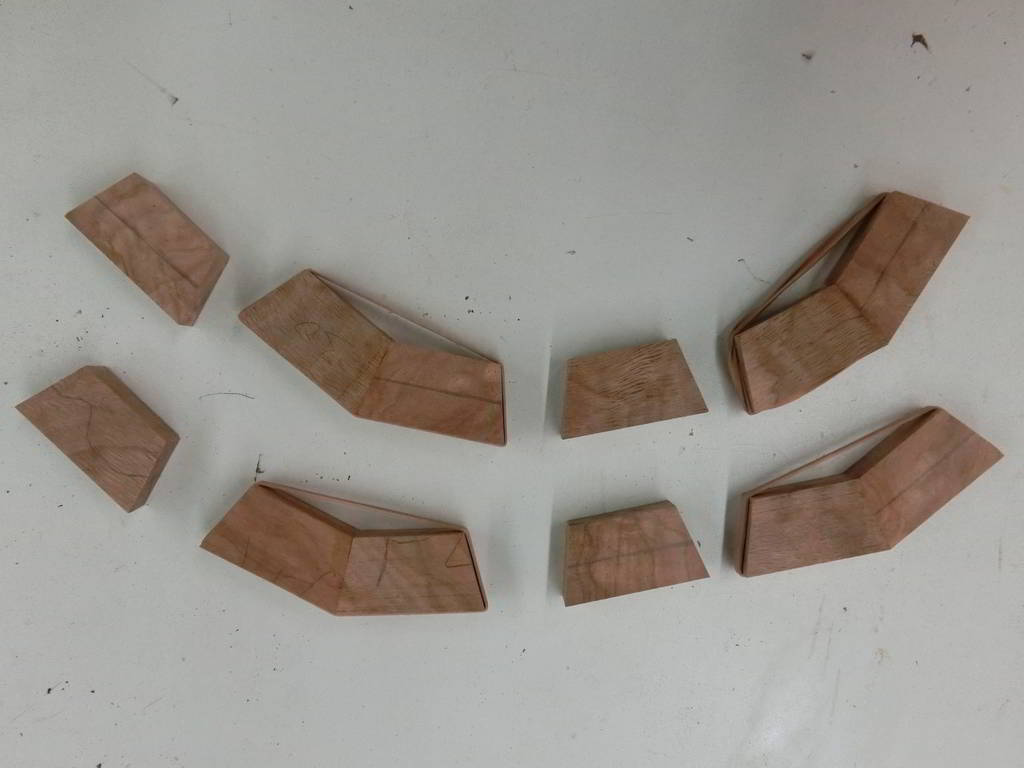
Multiple rings in progress; quarter rings, half rings, and full rings.
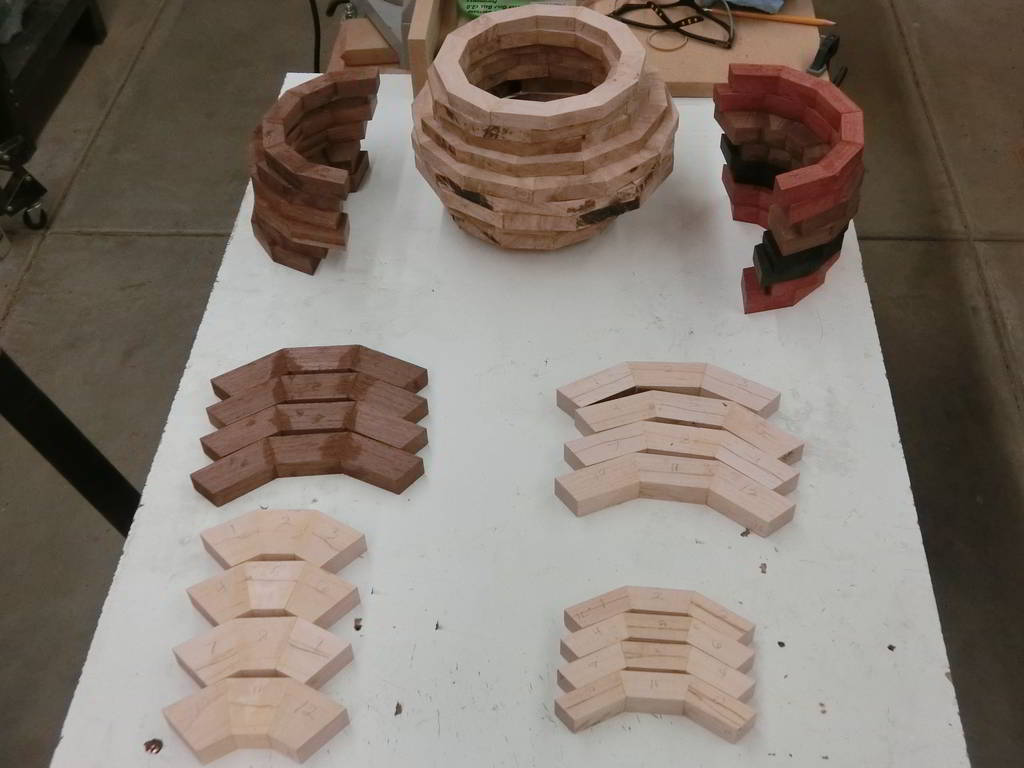
From left to right — the first five rings of the top module, with a sacrificial ring between the mounting block and the top ring. The 5th ring is being glued and clamped.
Left — feature ring module pieces; center — first two base rings glued to a sacrificial ring and the base mounting block; right — upside down stack of base module rings.
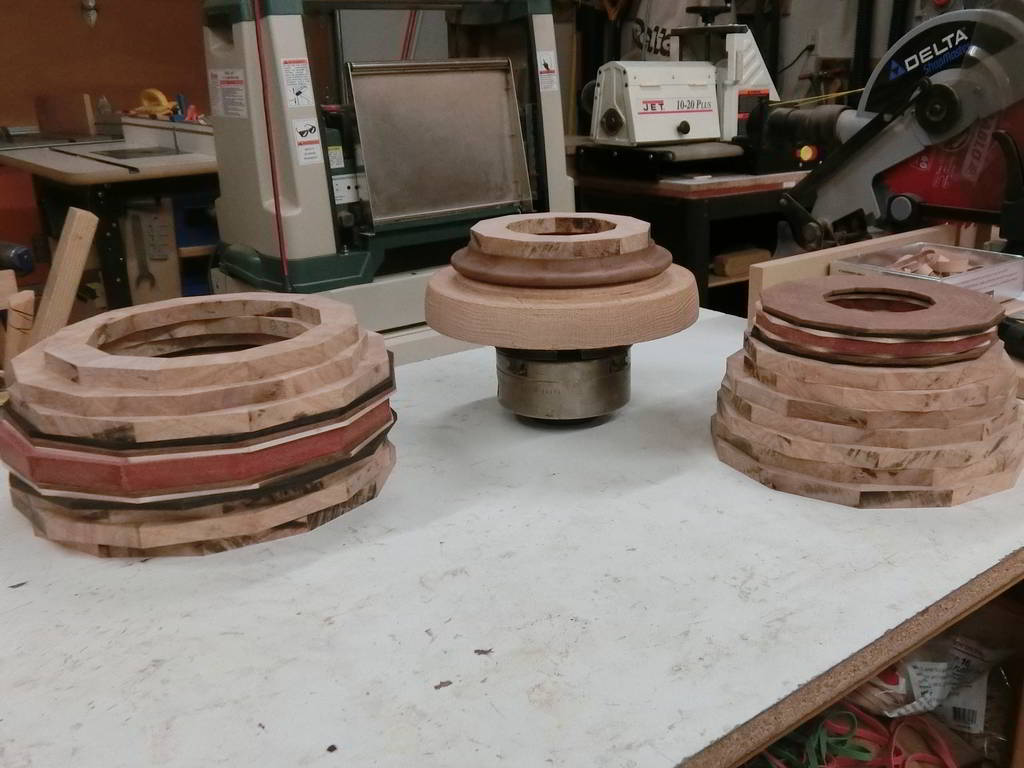
Left — center module rings; right — base module
glued-up through fourteen rings.
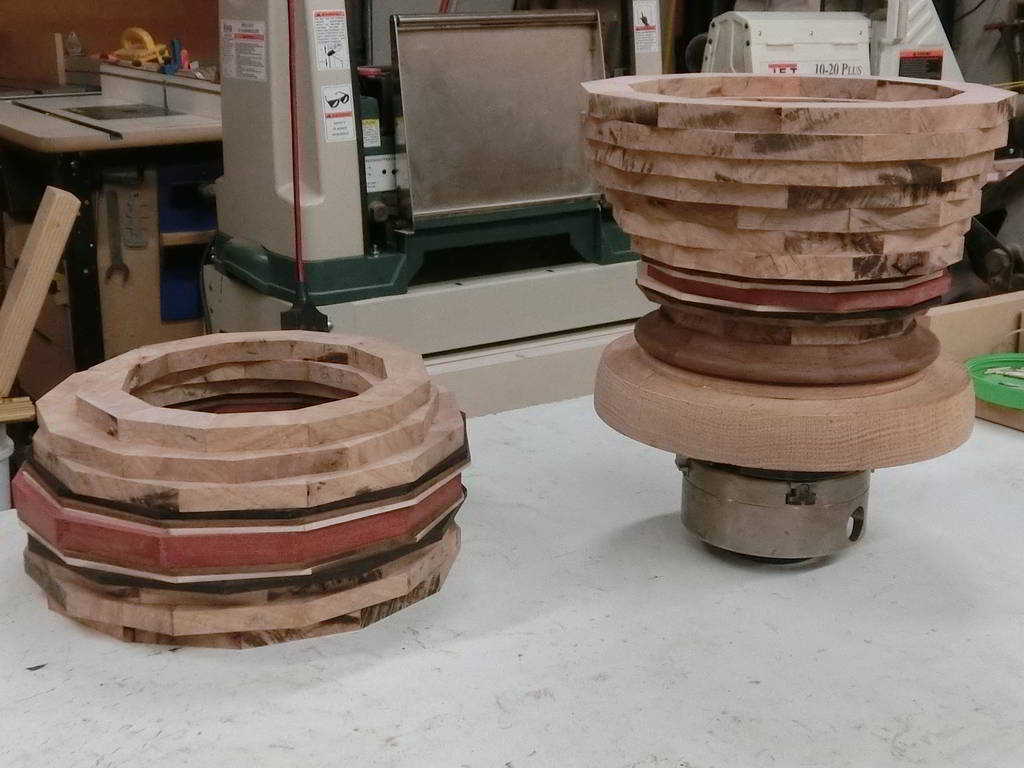
Checking the height dimensions, as the depth of the ledge the insert will rest on is critical.
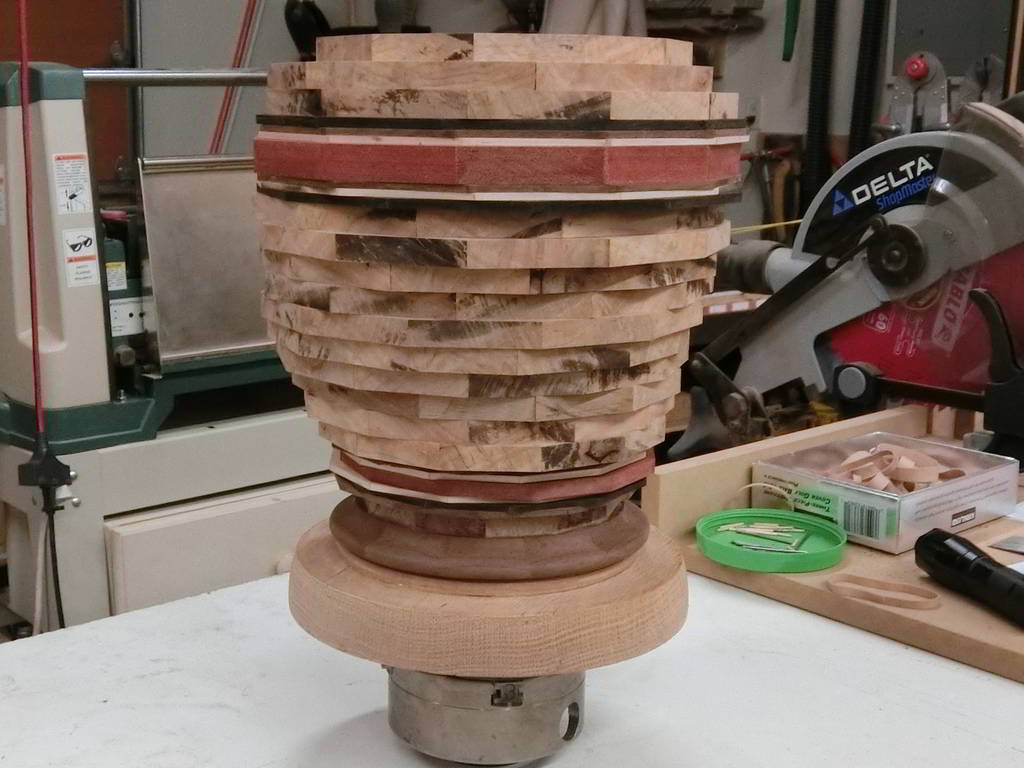
The top module coming together.
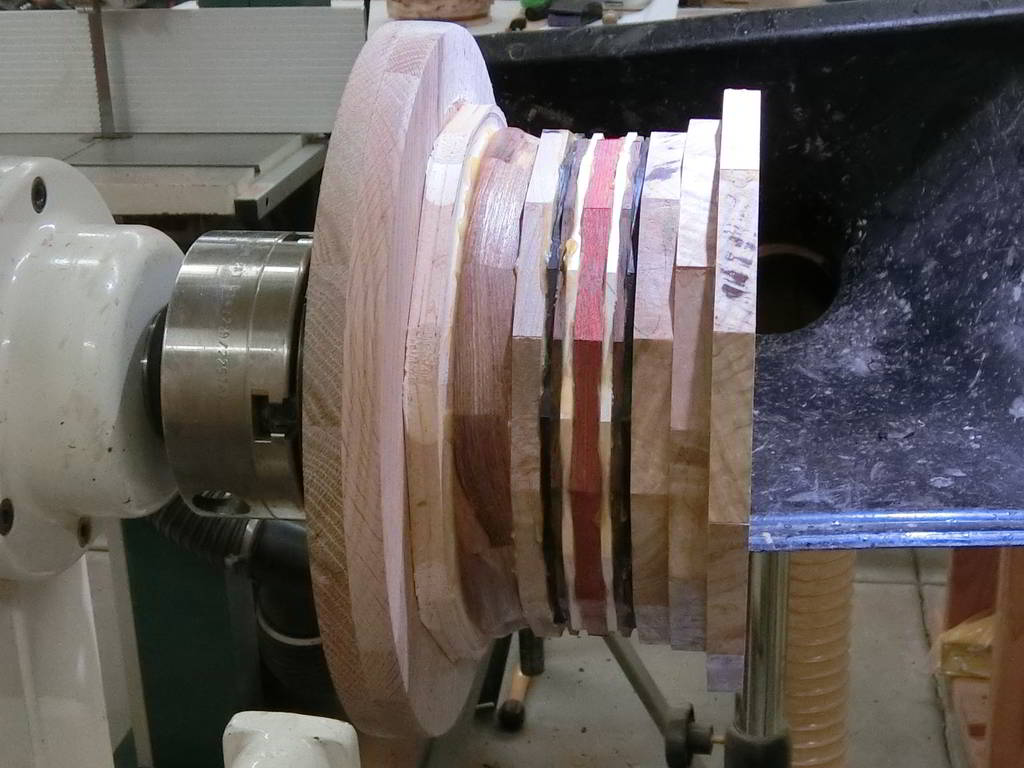
Freshly glued first twelve rings of the top module
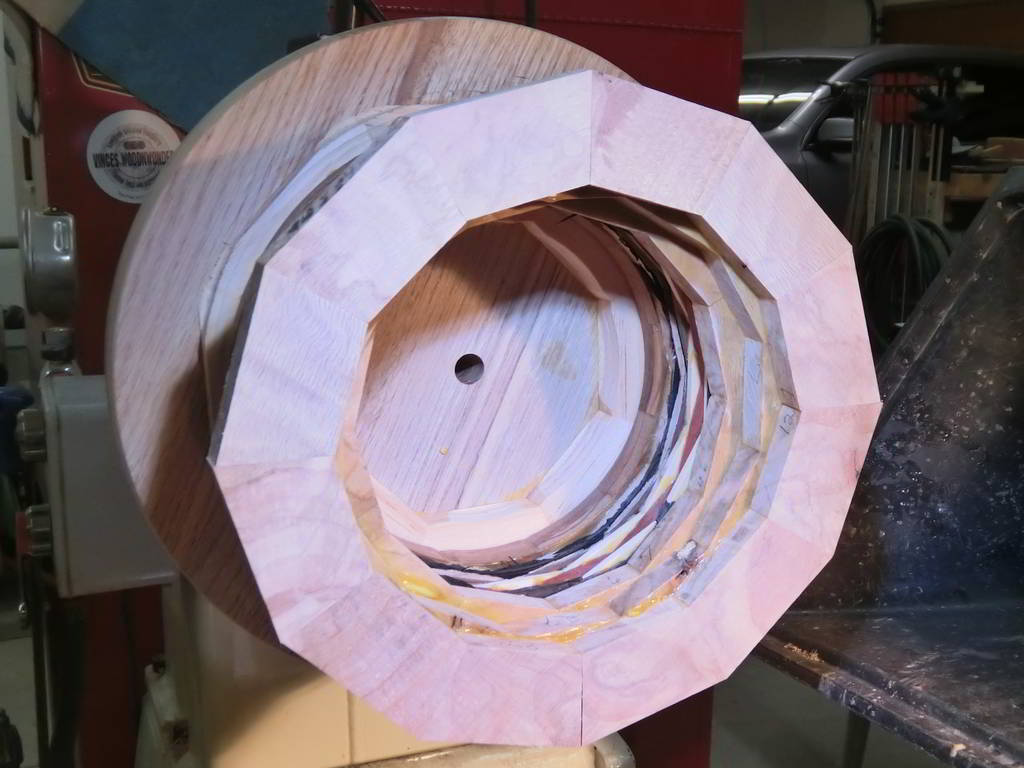
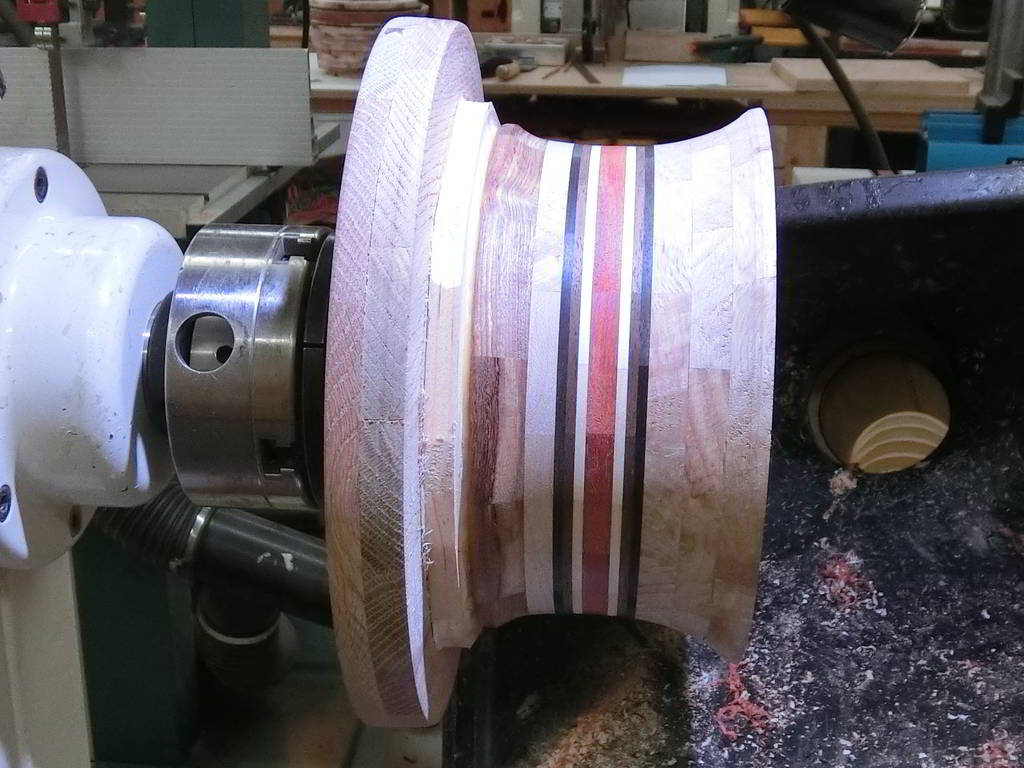
Top module, rough turned
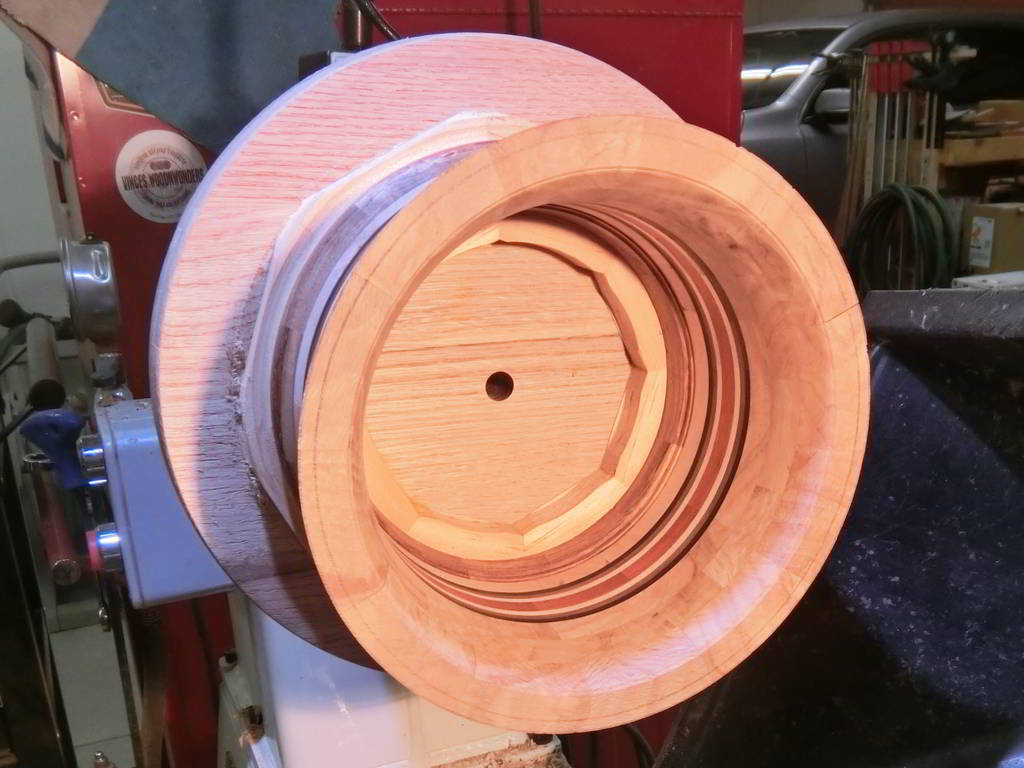
Interior of top module, rough turned
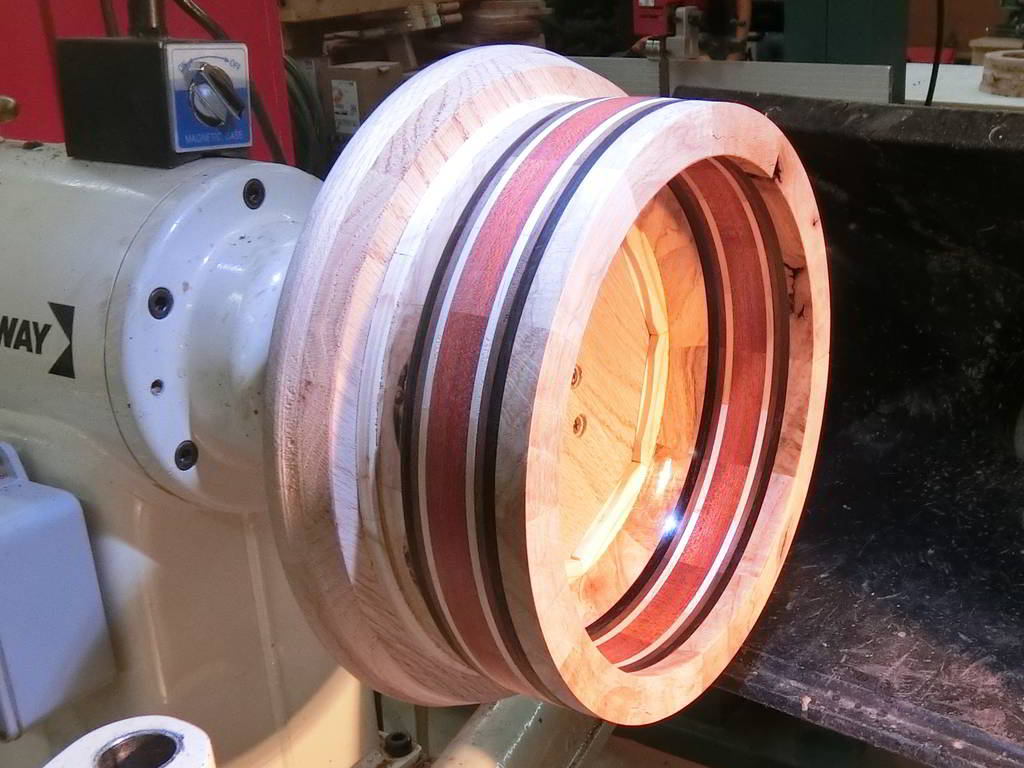
First ten rings of the base module
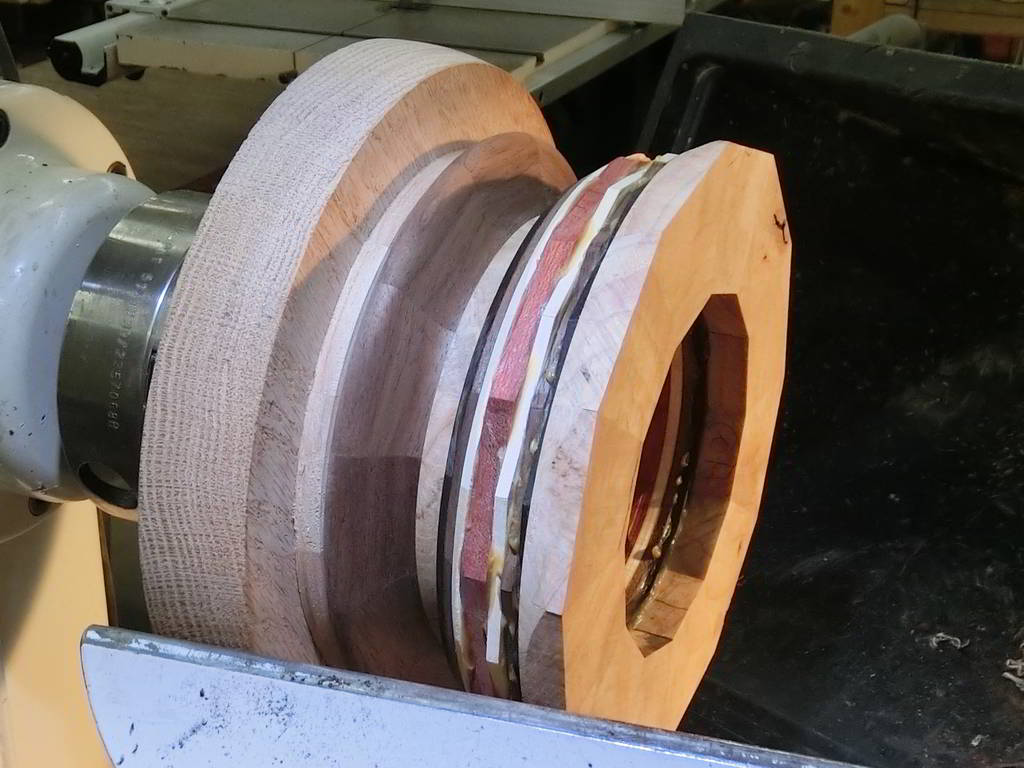
Center module "Feature Ring" takes shape
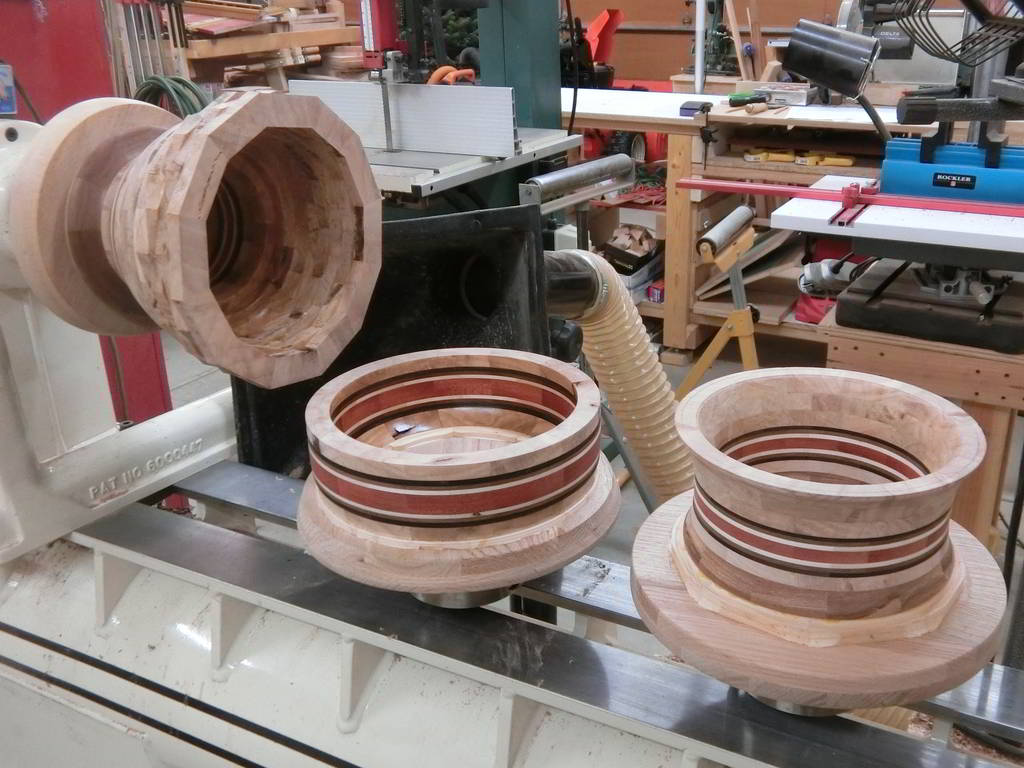
Left — base module; center — center module;
right — top module
Base module and center module coming together for pre-glue shaping and fit check
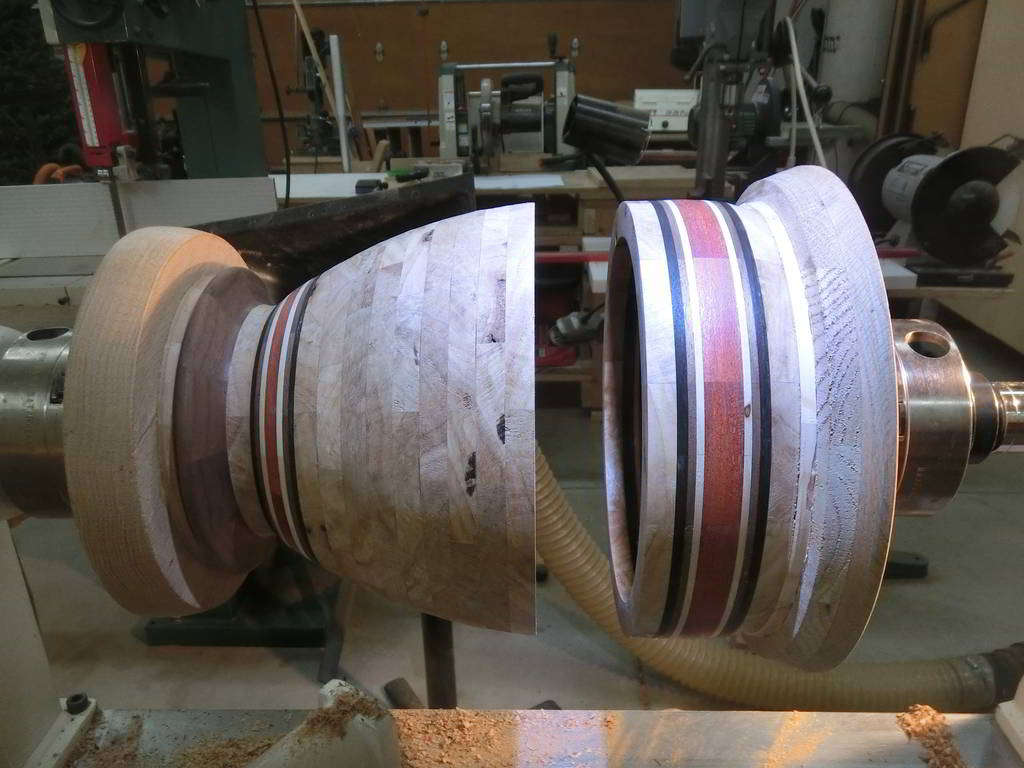
Pre-glue check
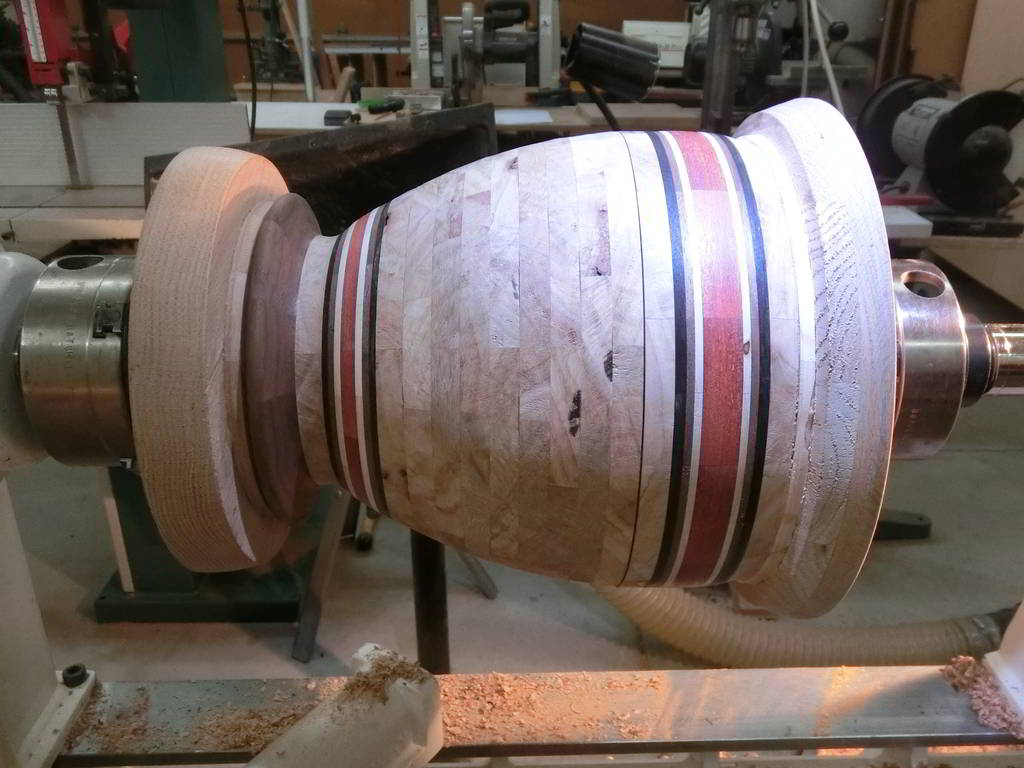
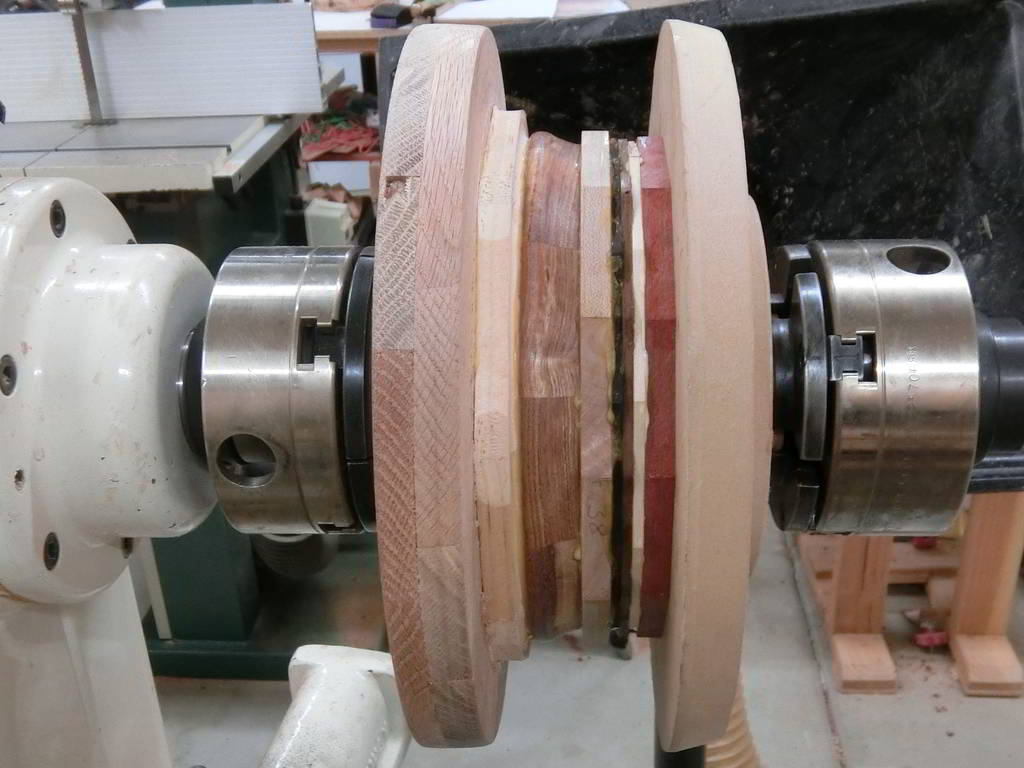
Glued-up and being parted from center module mount
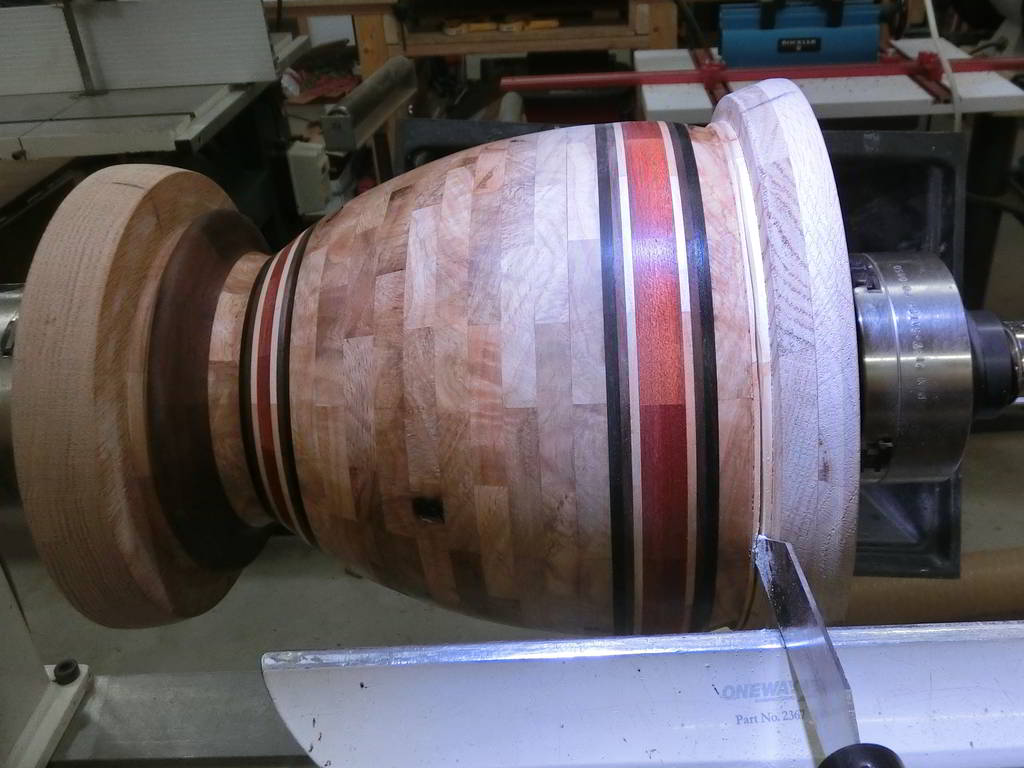
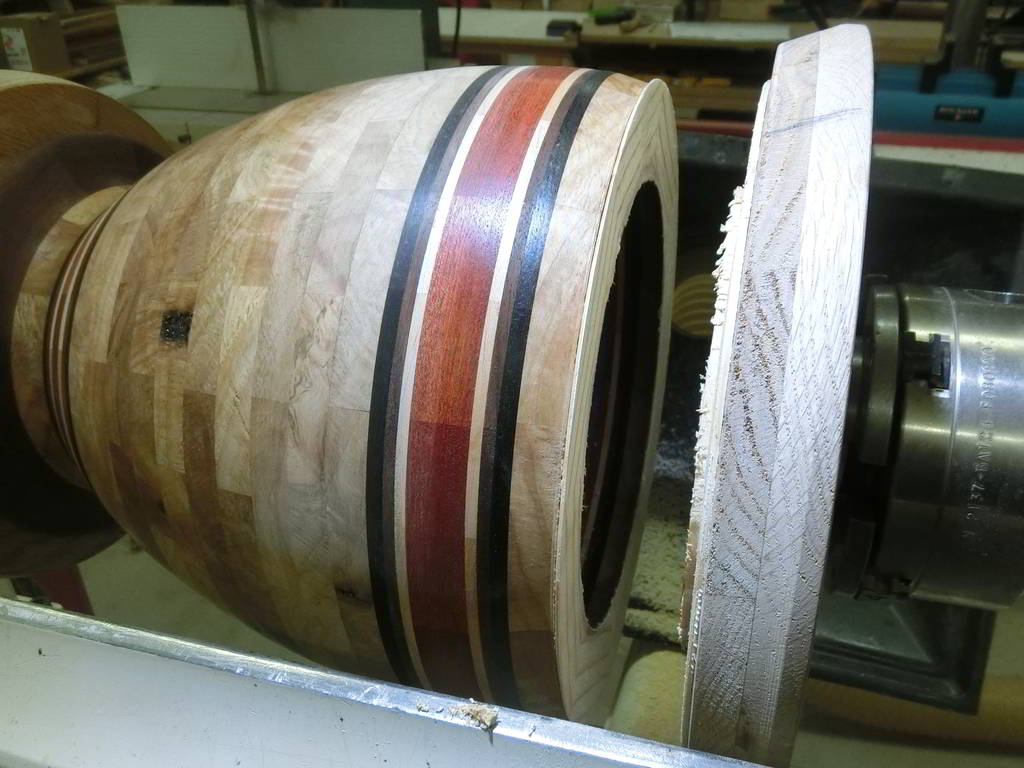
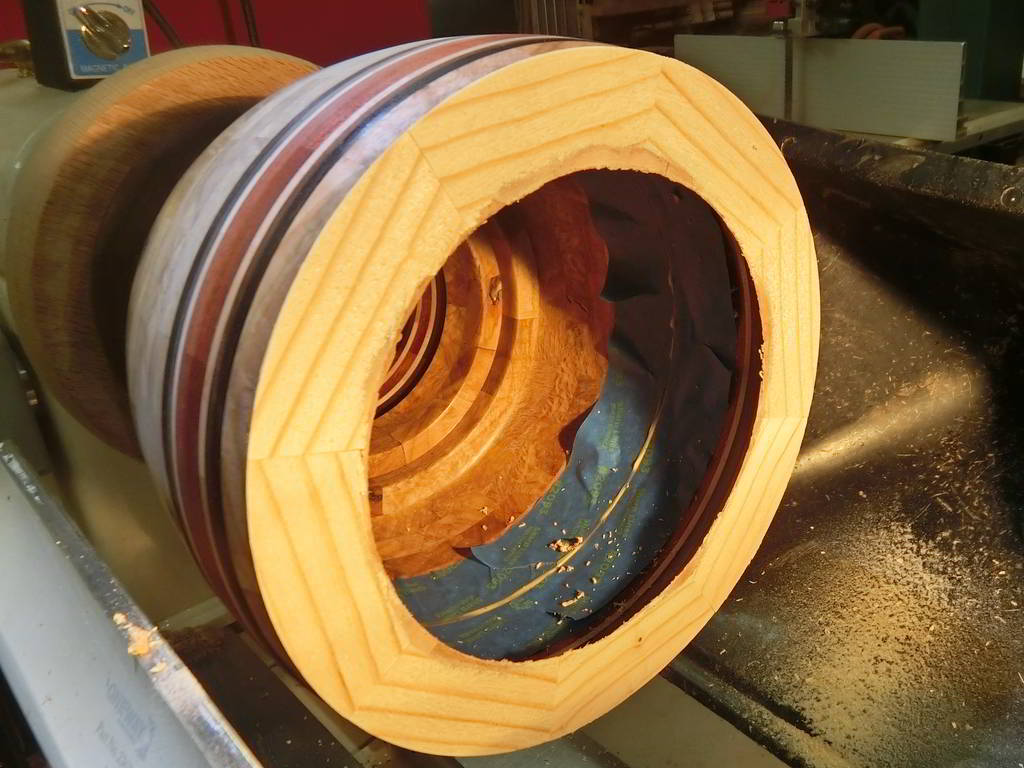
Remnants of the sacrificial ring to be cleaned off. The tape kept glue squeeze-out from sticking to the finished interior.
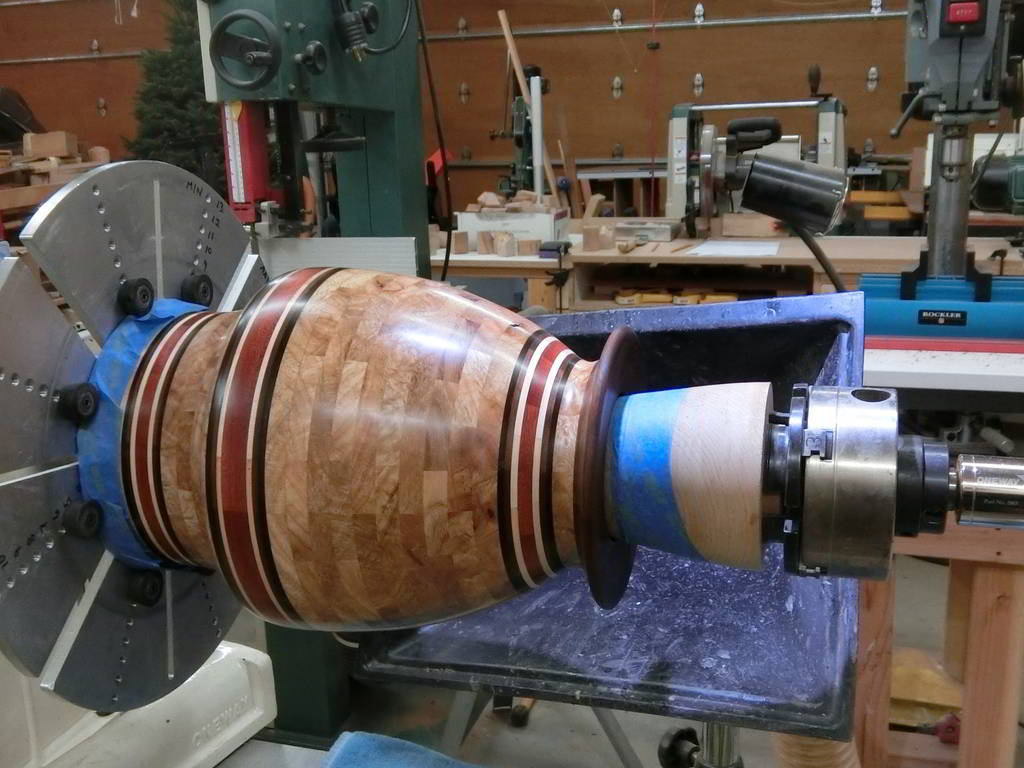
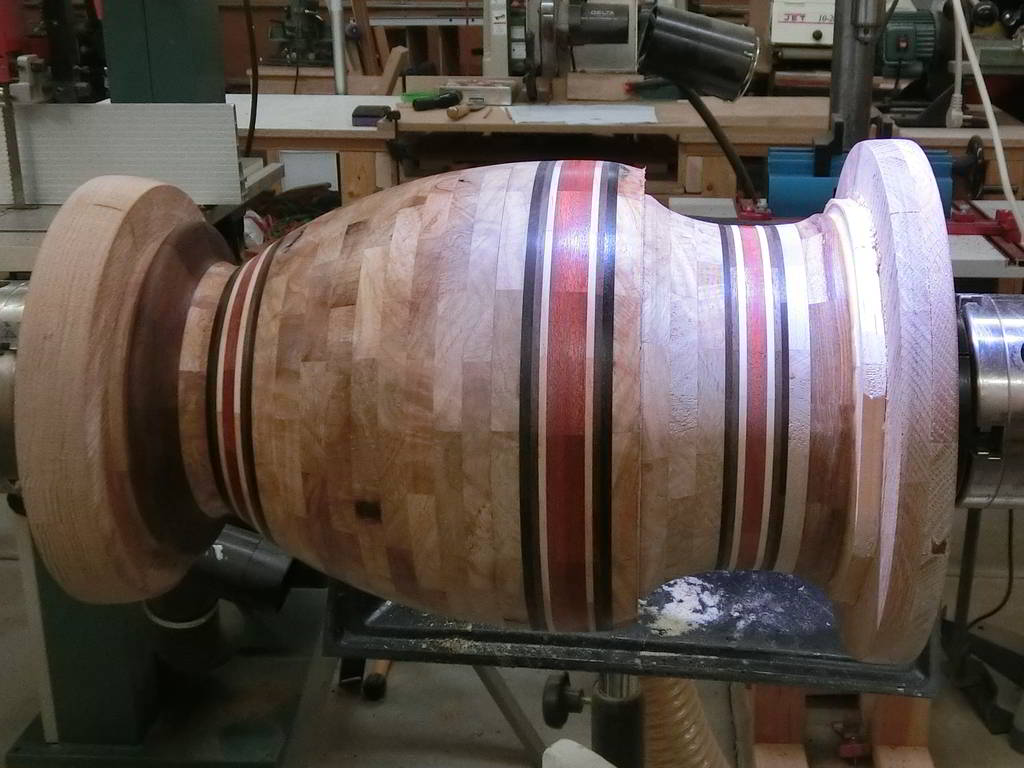
Pre-glue, final exterior shaping to begin. Note the large amount of material to be removed from the center module/top module joint. It looks like I made a planning error, but it is a perfect fit after the final shaping is completed.
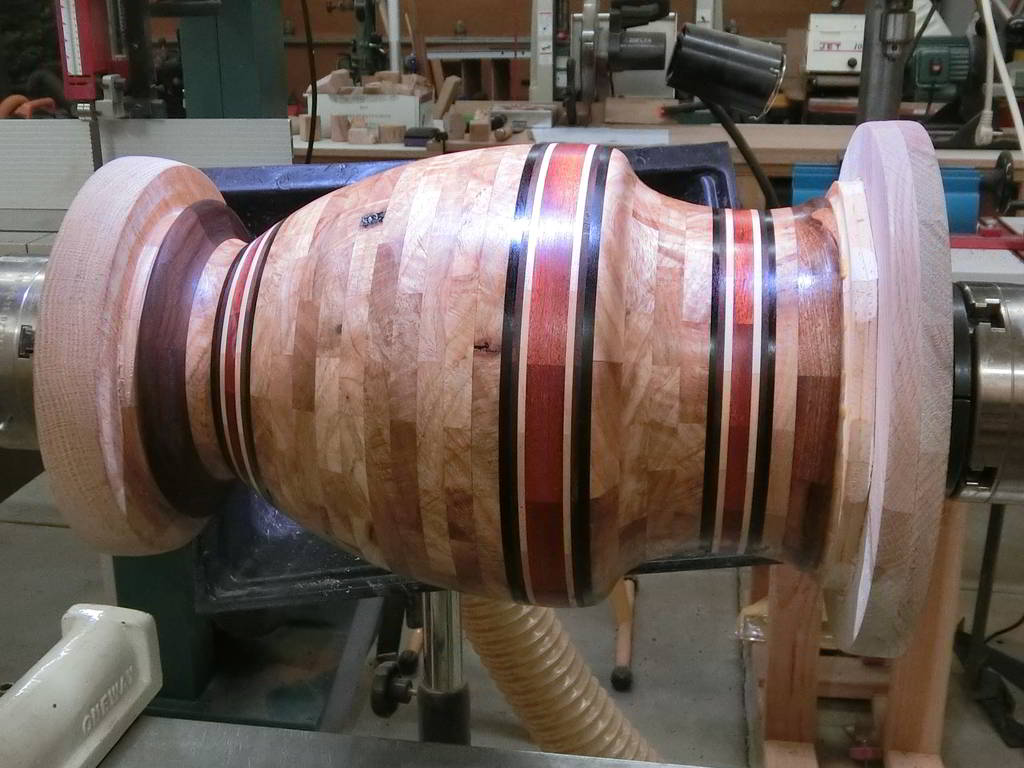
The final exterior shape is complete, pre-glue.
The two modules are both removed, and the top module is re-installed on the head-stock for its final interior adjustments and finishing.
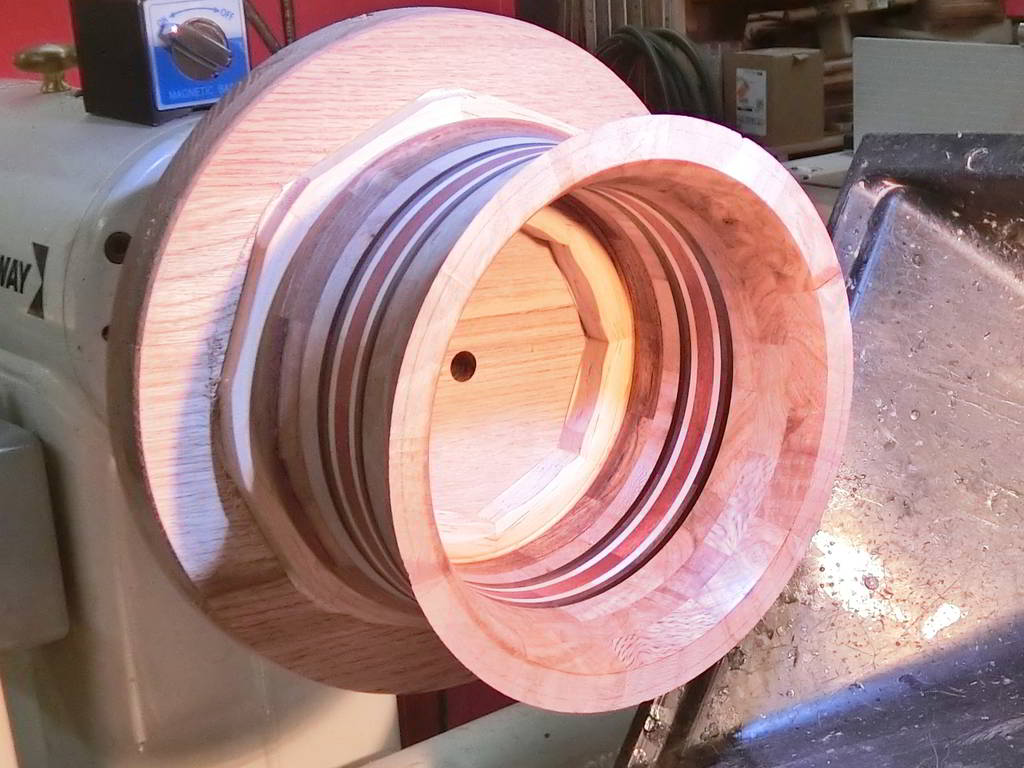
The base module is re-mounted on the head-stock and the top module is brought up for the final glue joint.
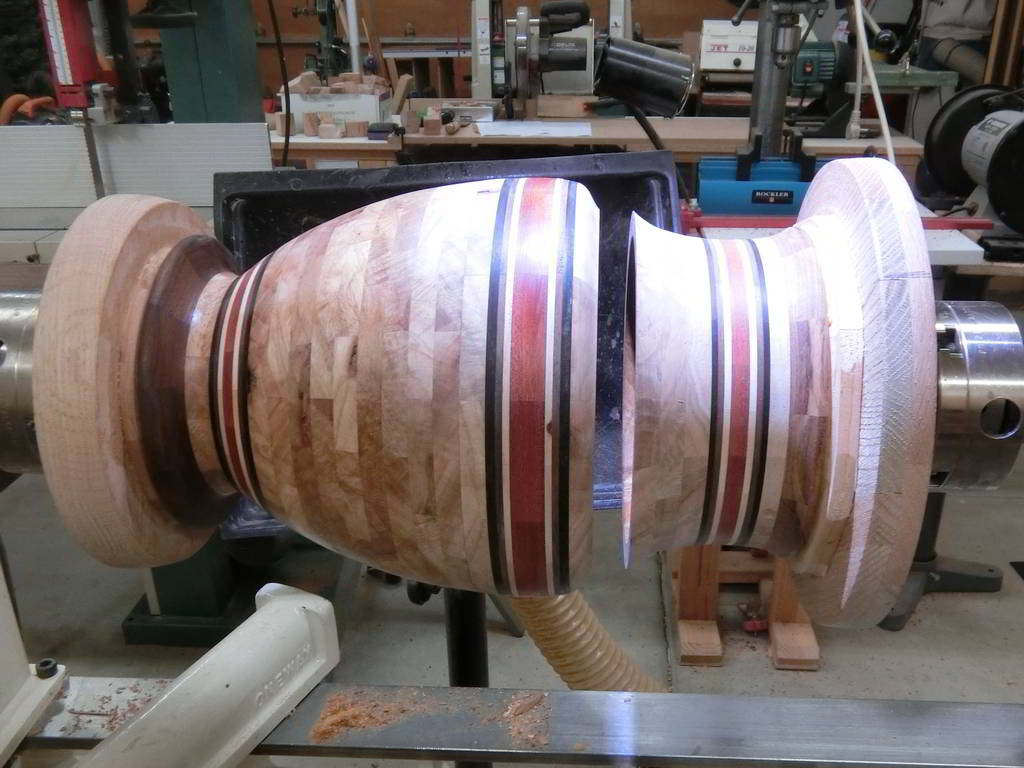
The final mating is complete, and the top unit is parted from its mount.
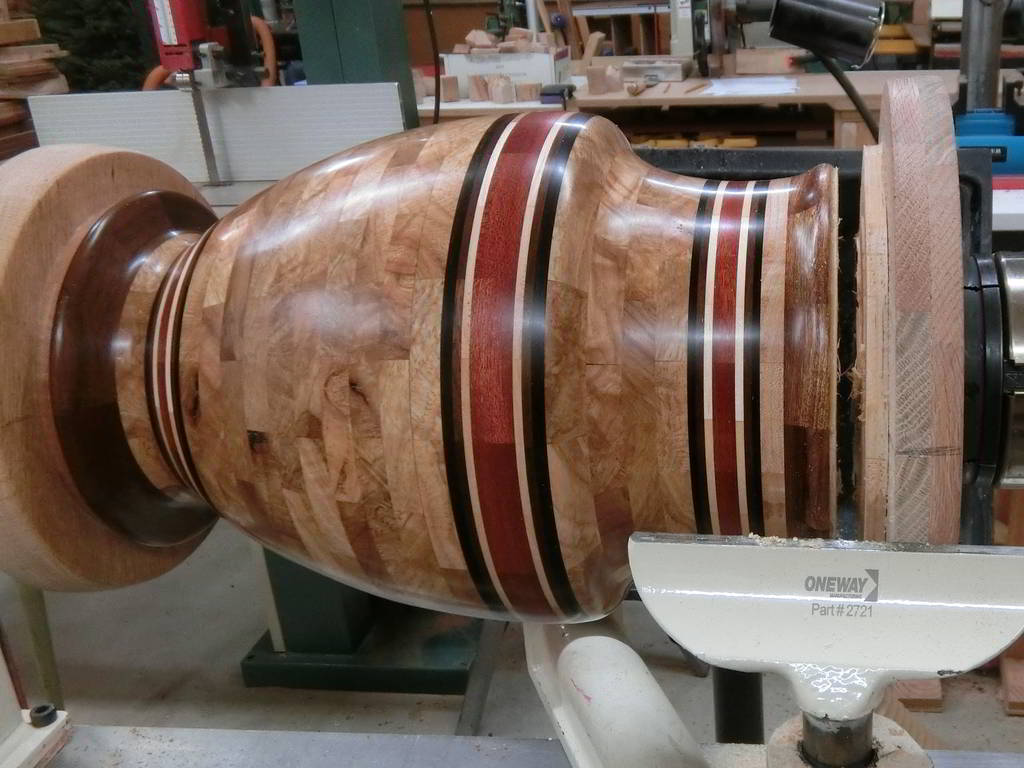
The weight of the assembly is now supported solely by the strength of the base mount. A precarious situation.
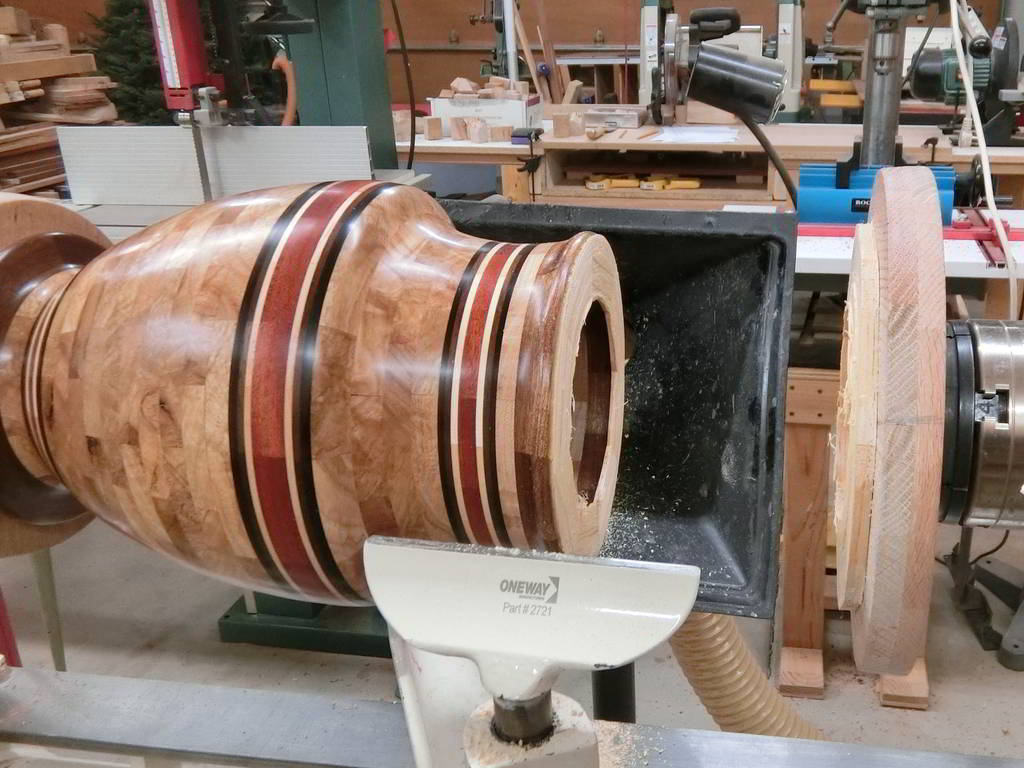
Carefully reaching inside to clean up the interior modules joints. Followed by final sanding and finishing, the interior will be completed.
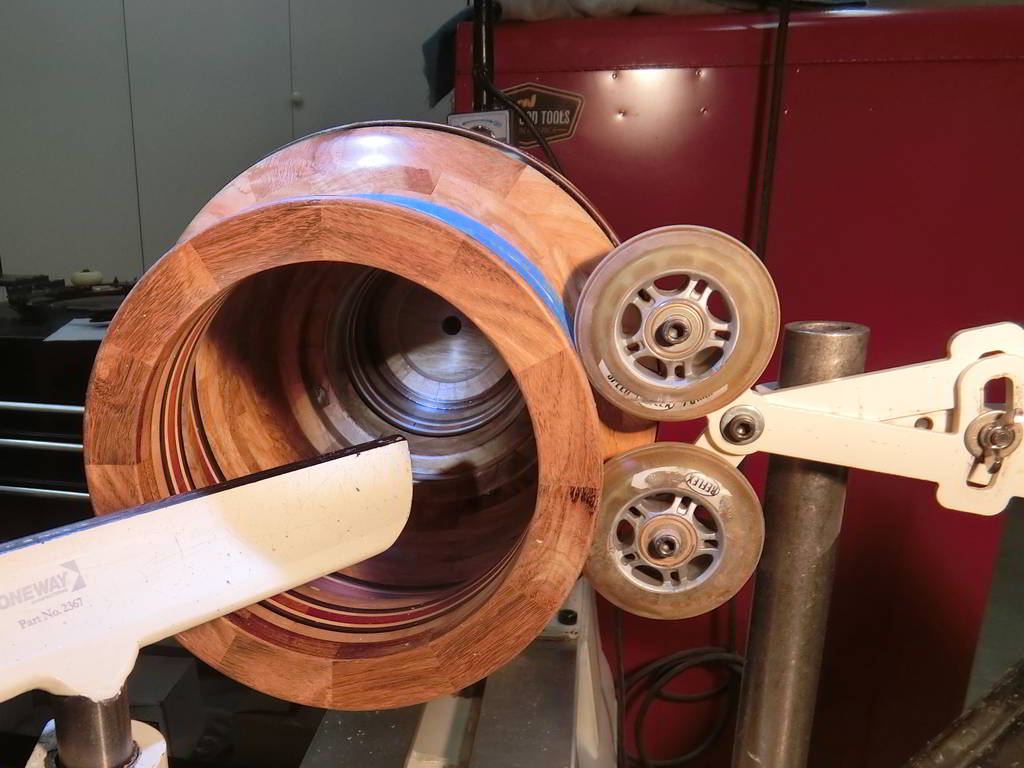
Exterior and interior finishing complete!
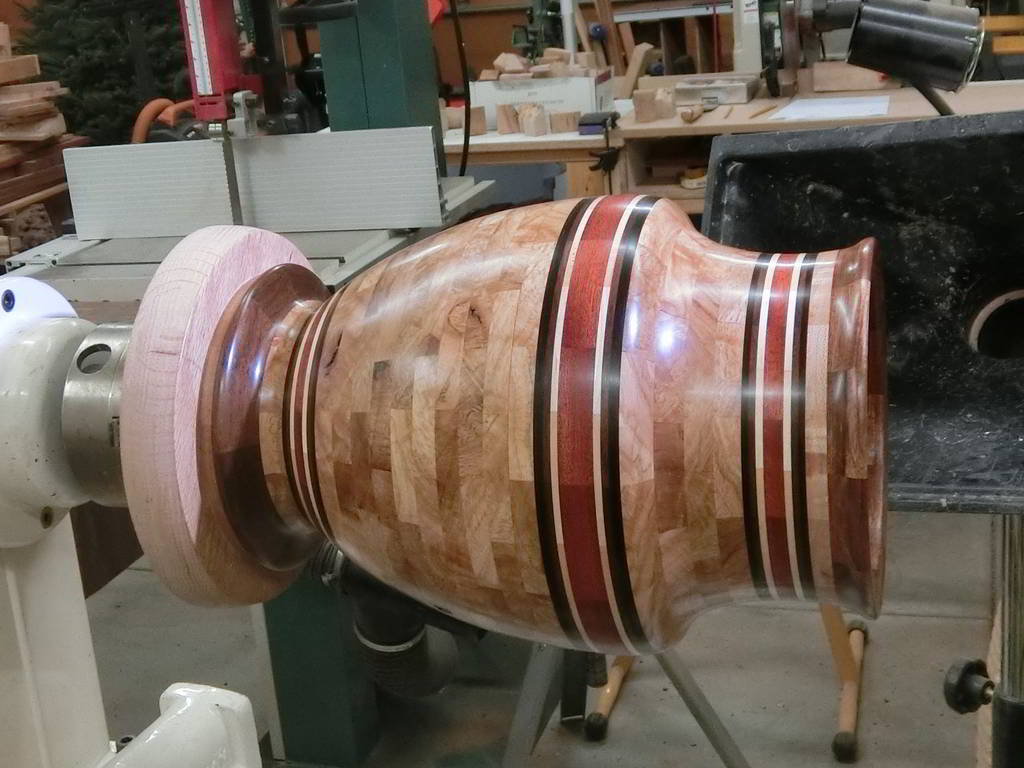
Removed from lathe and re-mounted on the tail stock. Jumbo Jaws used to grip the top, allowing the base to be parted from its mount.
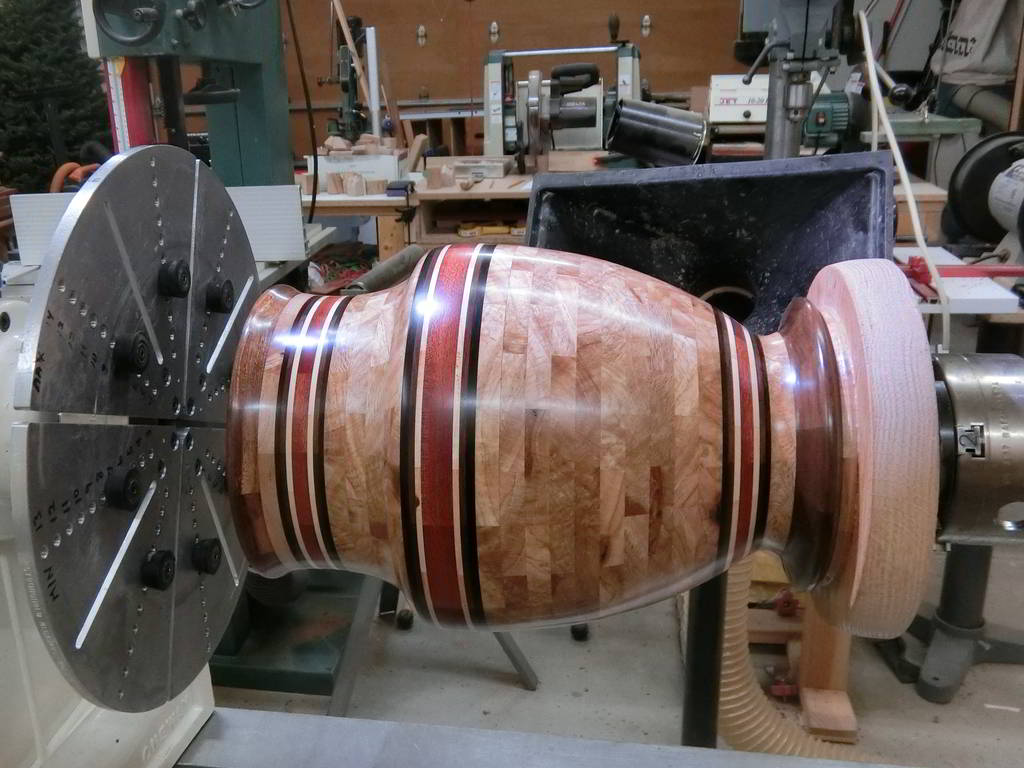
The base is parted from its mounting. The entire weight of the vase is held simply by the rubber grippers of the Jumbo Jaws. A disaster waiting
to happen.
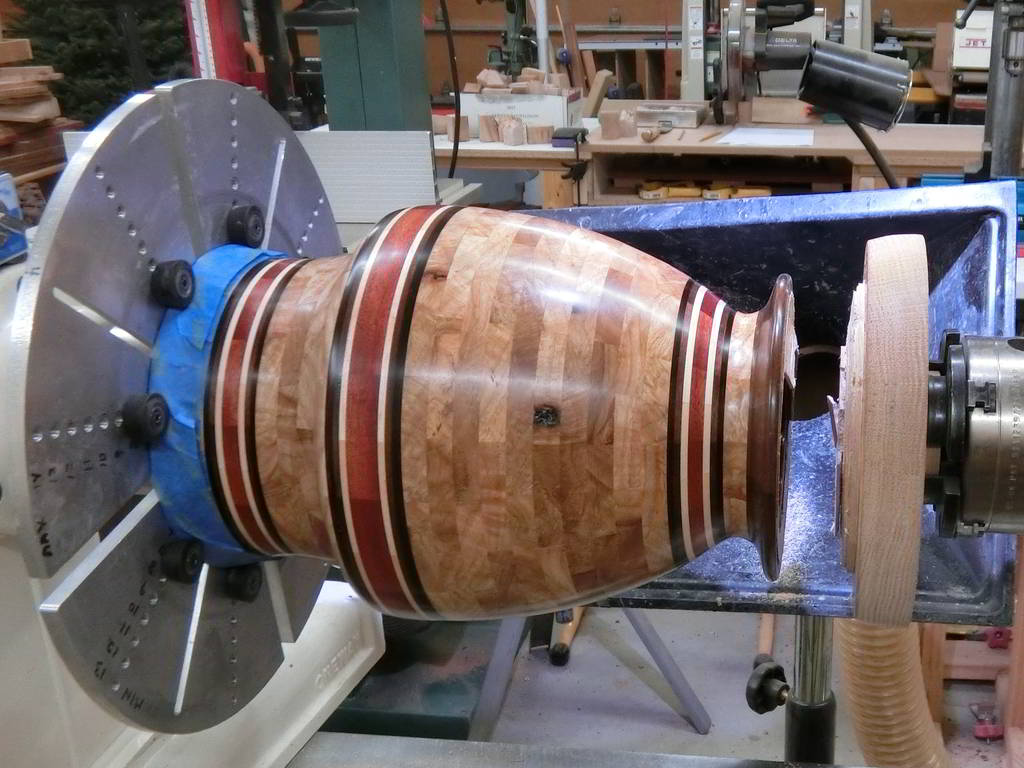
The tailstock is brought up to support the weight, and the final finishing touches are made to the base. The vase is removed and the base "plug" is glued into place.
FINISHED!
